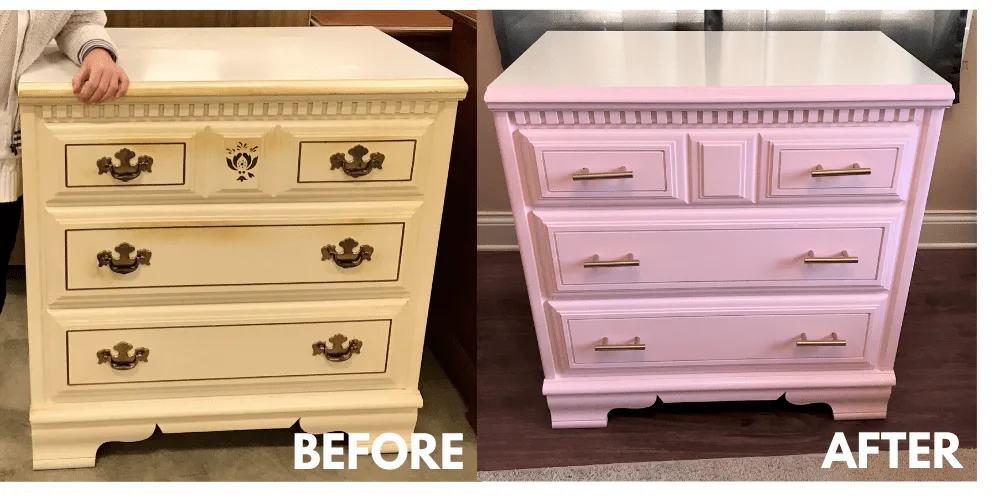
Here’s how we turned an ugly smoke-stained thrift store dresser into a like-new painted chest of drawers!
My 7-year-old daughter has finally outgrown the fabric bin drawers we had been keeping her clothes in since she was a baby. Why do they grow up so fast??
I started shopping for a small dresser for her and was disappointed with everything I found online.
I didn’t want to spend $100 on a cheaply made particle board dresser that was going to fall apart in a few years.
So we decided to hit up our local Habitat for Humanity ReStore for a solid wood dresser we could rehab.
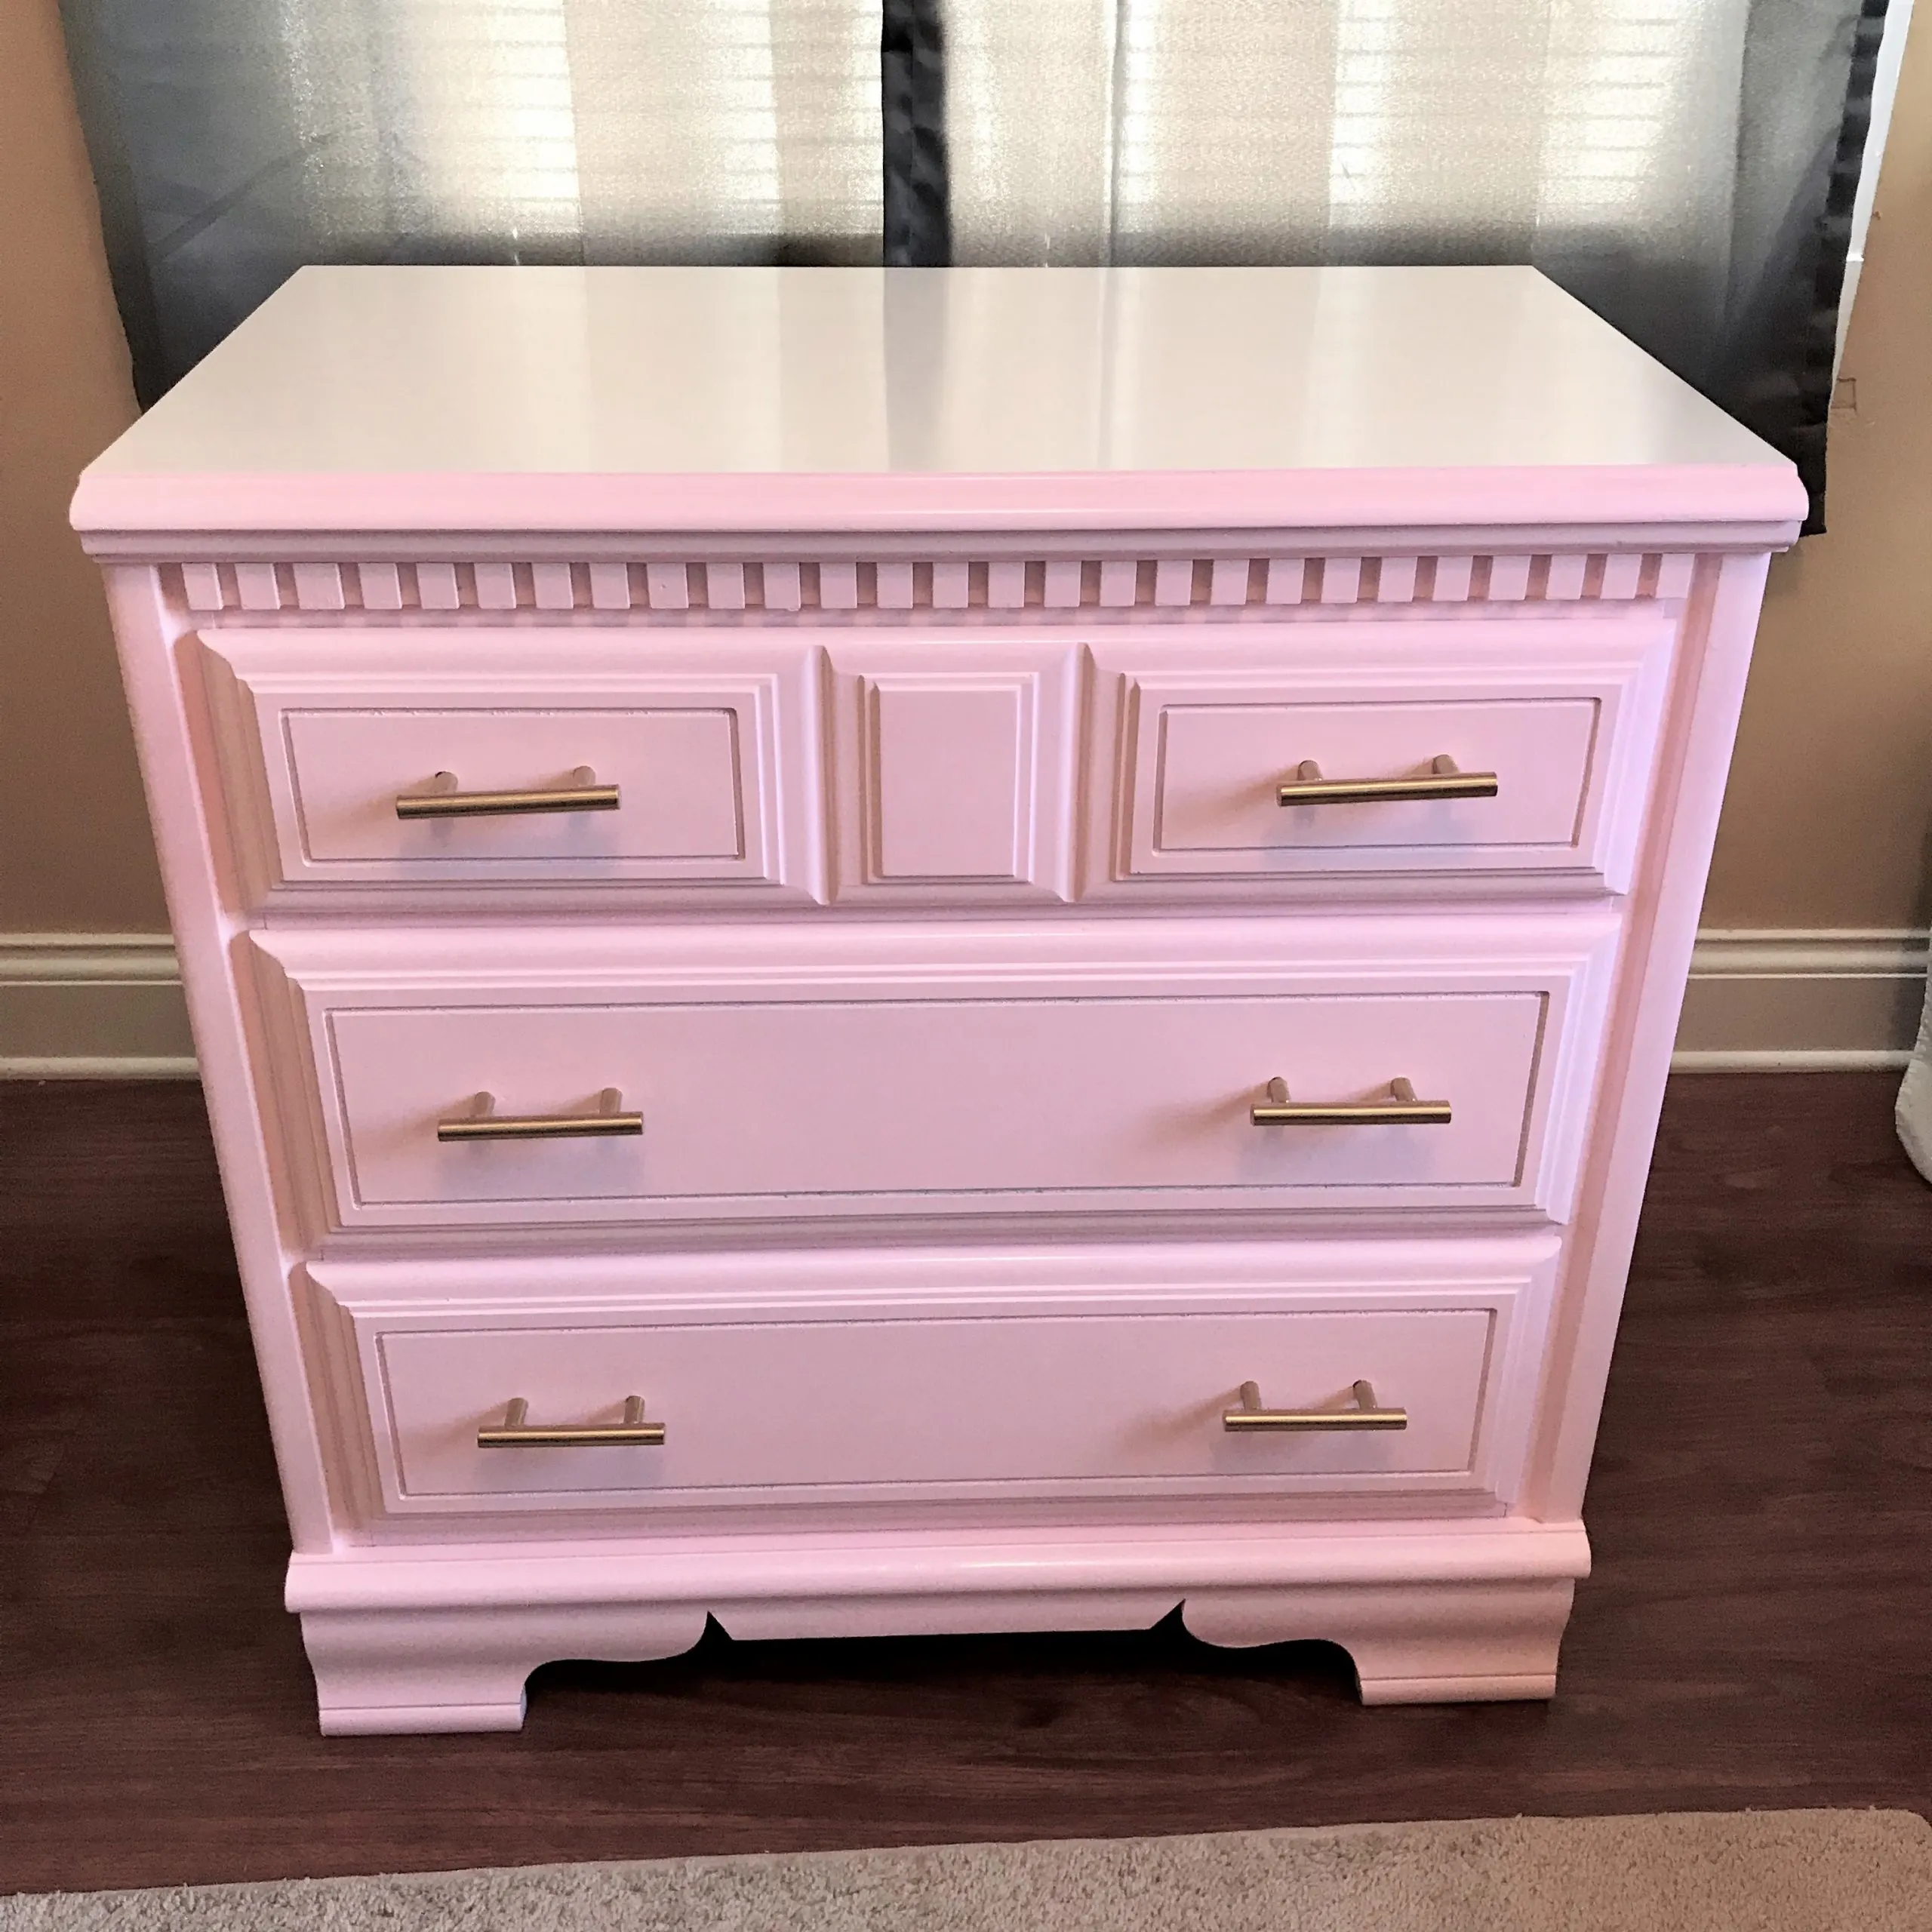
Here’s what we found and how we turned it into a gorgeous painted chest of drawers fit for a princess.
She did a majority of the work on this project – it’s super kid-friendly!
DIY Dresser Makeover: Before
My daughter is obsessed with the HGTV show Good Bones.
So we went to the ReStore looking for a dresser with good bones we could rehab just like Mina and Karen do on the show.
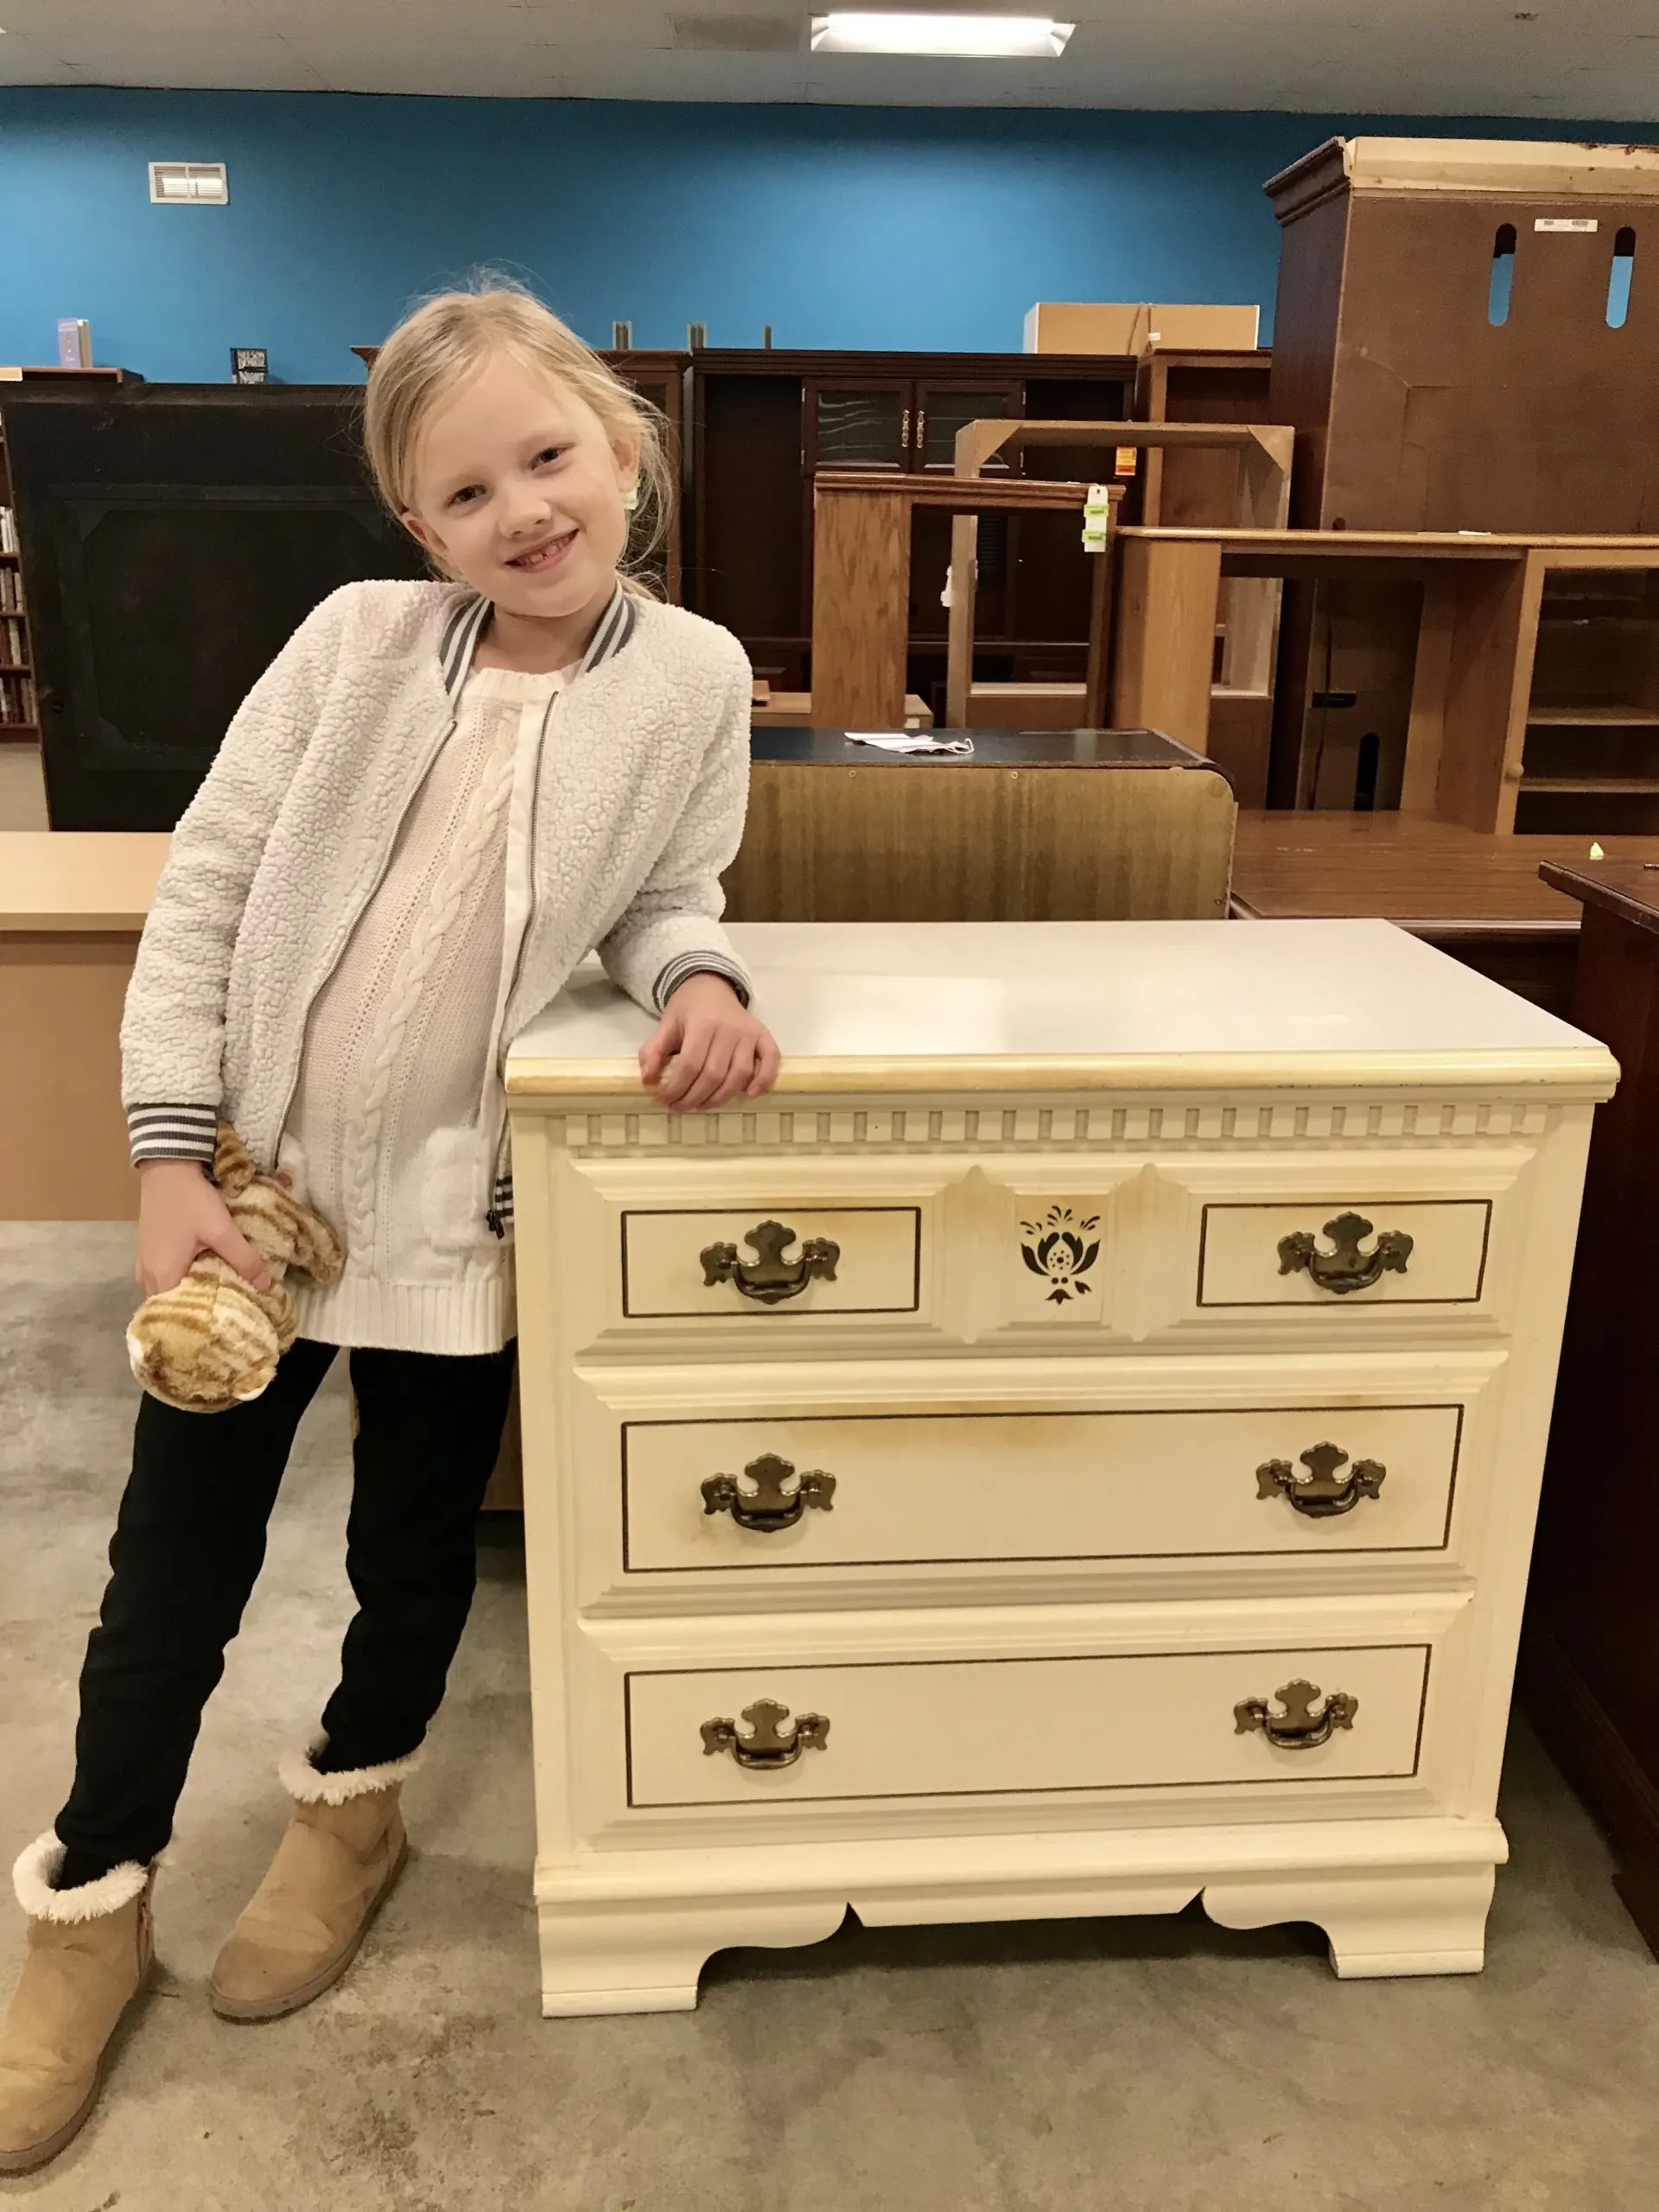
We found this nicotine-stained dresser that definitely needed some love.
But it was sturdy solid wood and the laminate top was in perfect condition. It definitely had good bones!
We snagged it for $50, which was a little bit more that I wanted to spend.
But the money will help support Habitat’s efforts in the community, so I felt okay about it.
DIY Painted Chest of Drawers: Next Steps
With our find in the back of the car, we headed to Home Depot to pick out some spray paint and drawer pulls.
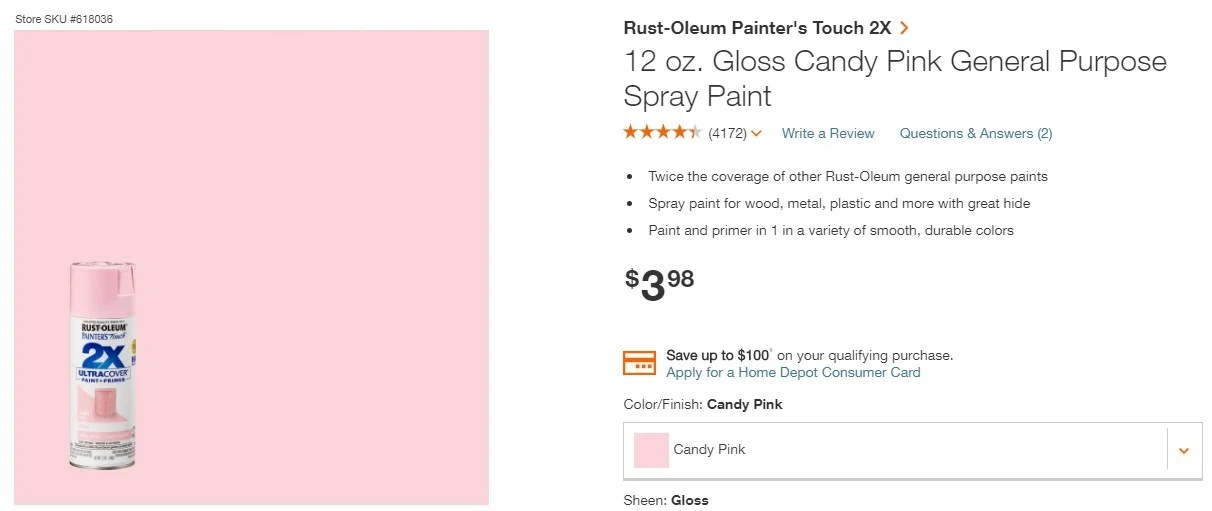
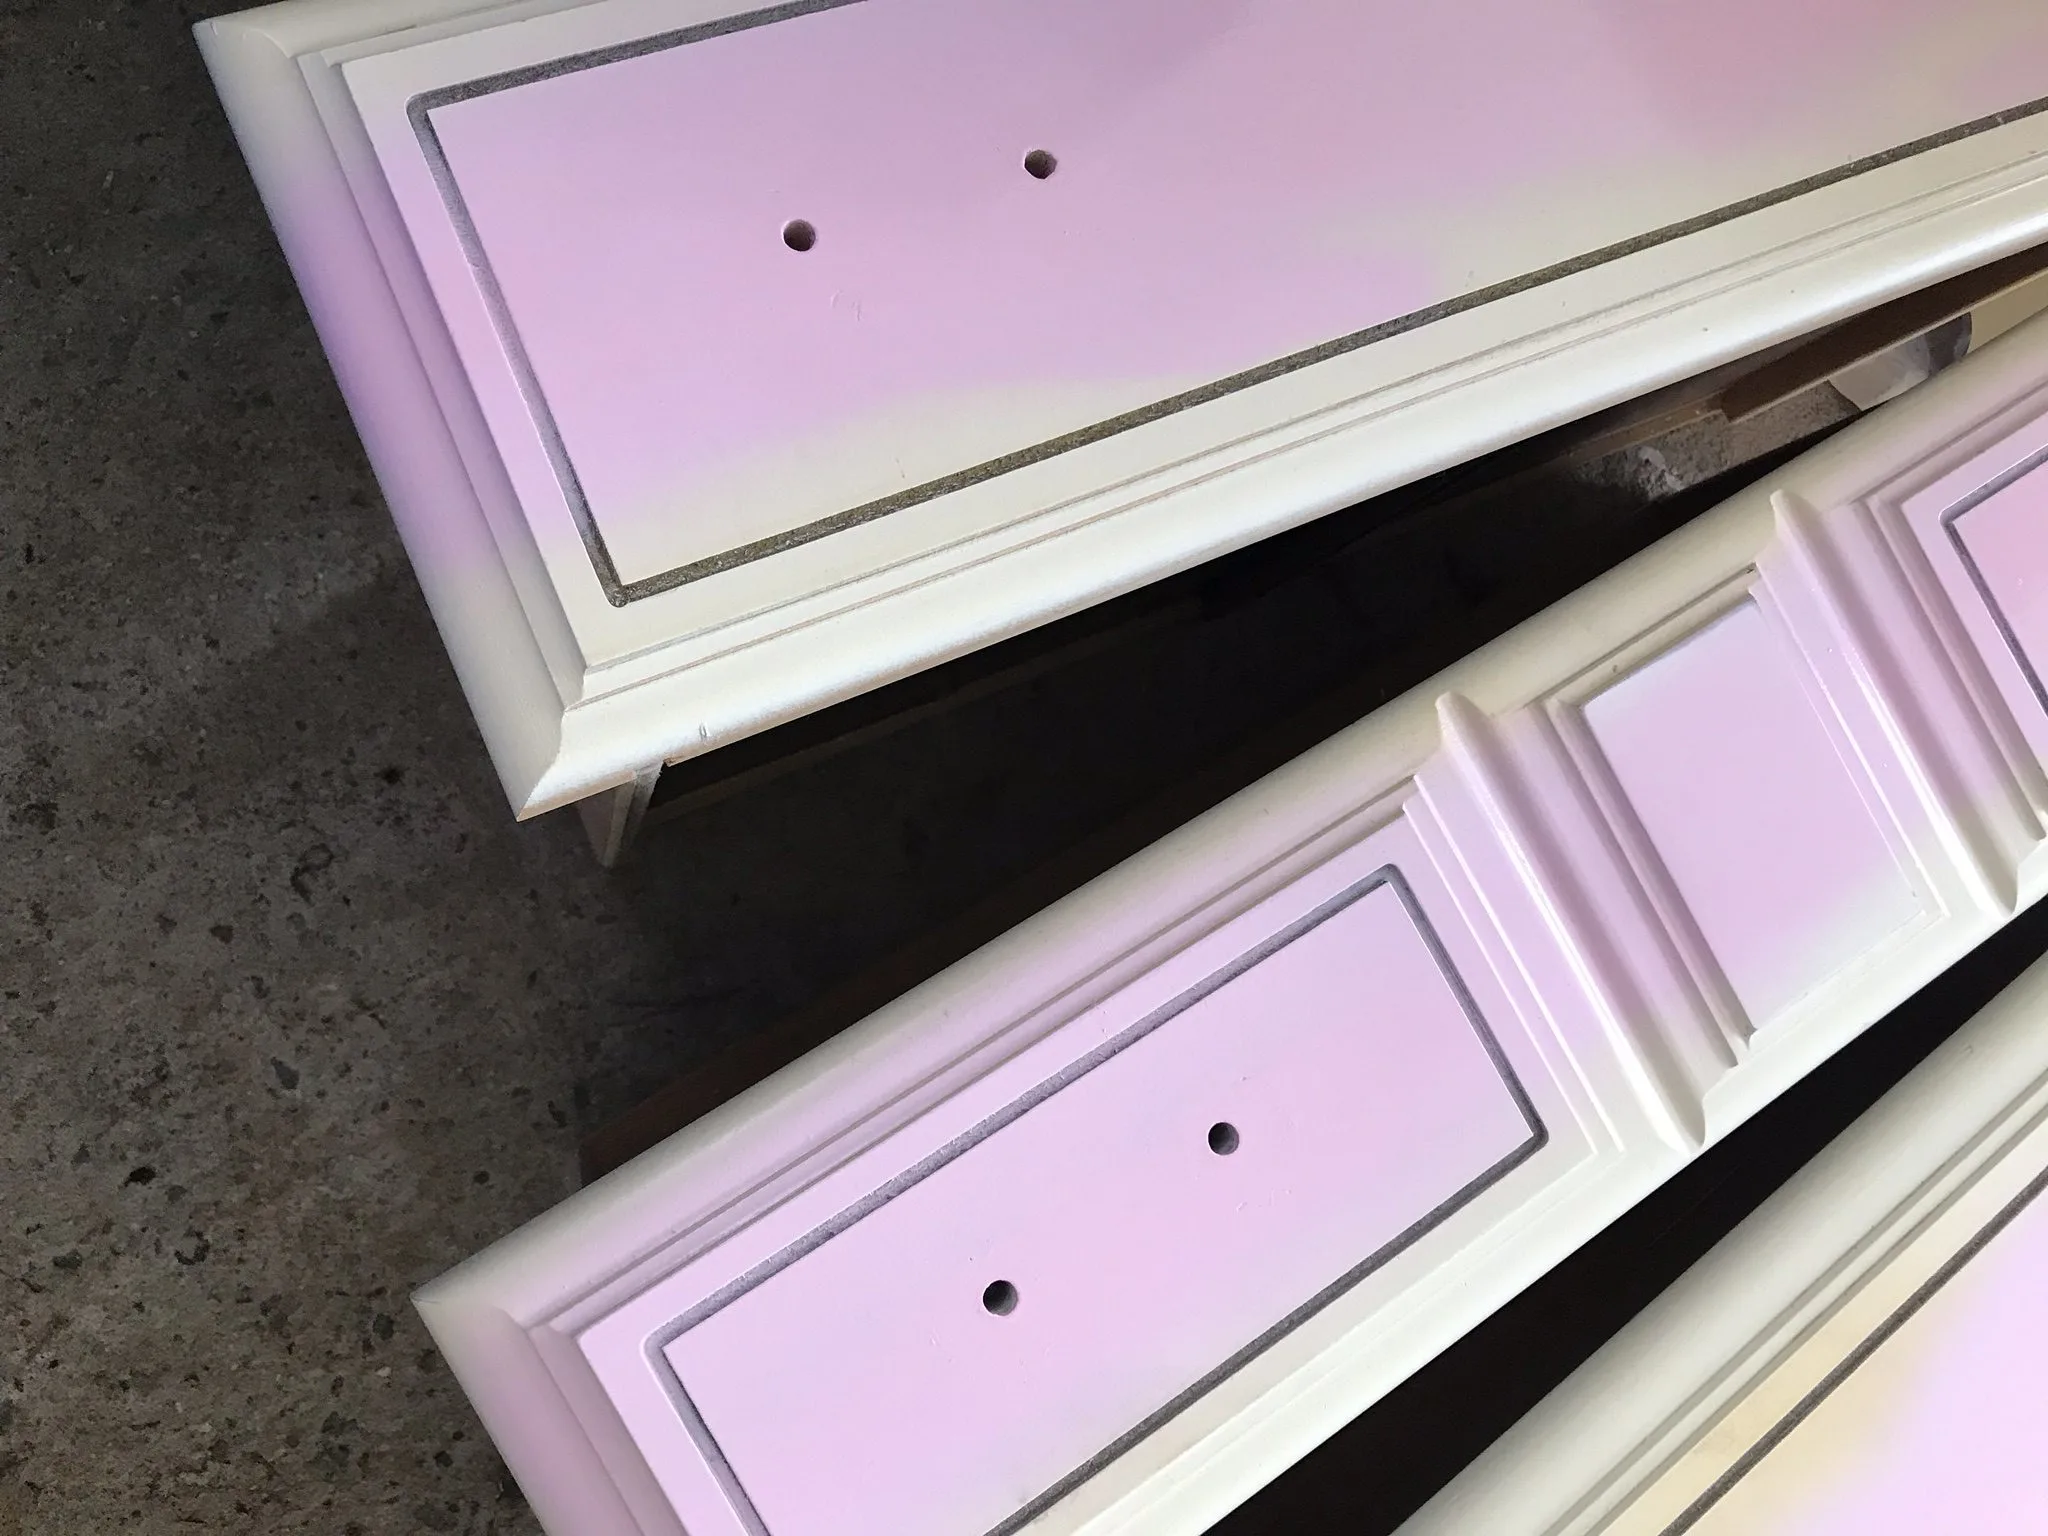
I let my daughter take charge of the project, which means we left with this Rust-Oleum Candy Pink spray paint.
Not my first choice in color but I have to admit the end result was amazing!
I love this paint because it has the primer in it and has excellent coverage. We bought two cans and used about one and a half.
She couldn’t find any drawer pulls she liked in the store that would fit the 2 1/2 inch openings (note – bring a tape measure along if you want to get the right pulls!)
So I opened the Amazon app right there and she picked these lovely brushed brass drawer pulls.
She saw some similar ones in the store that she liked so she knew what she was looking for.
It’s super nice to be able to peruse the pulls in the store and then find the right ones online.
Prepping & Painting The Dresser
Once we got the dresser home and set up in the car port we started prepping it for paint.
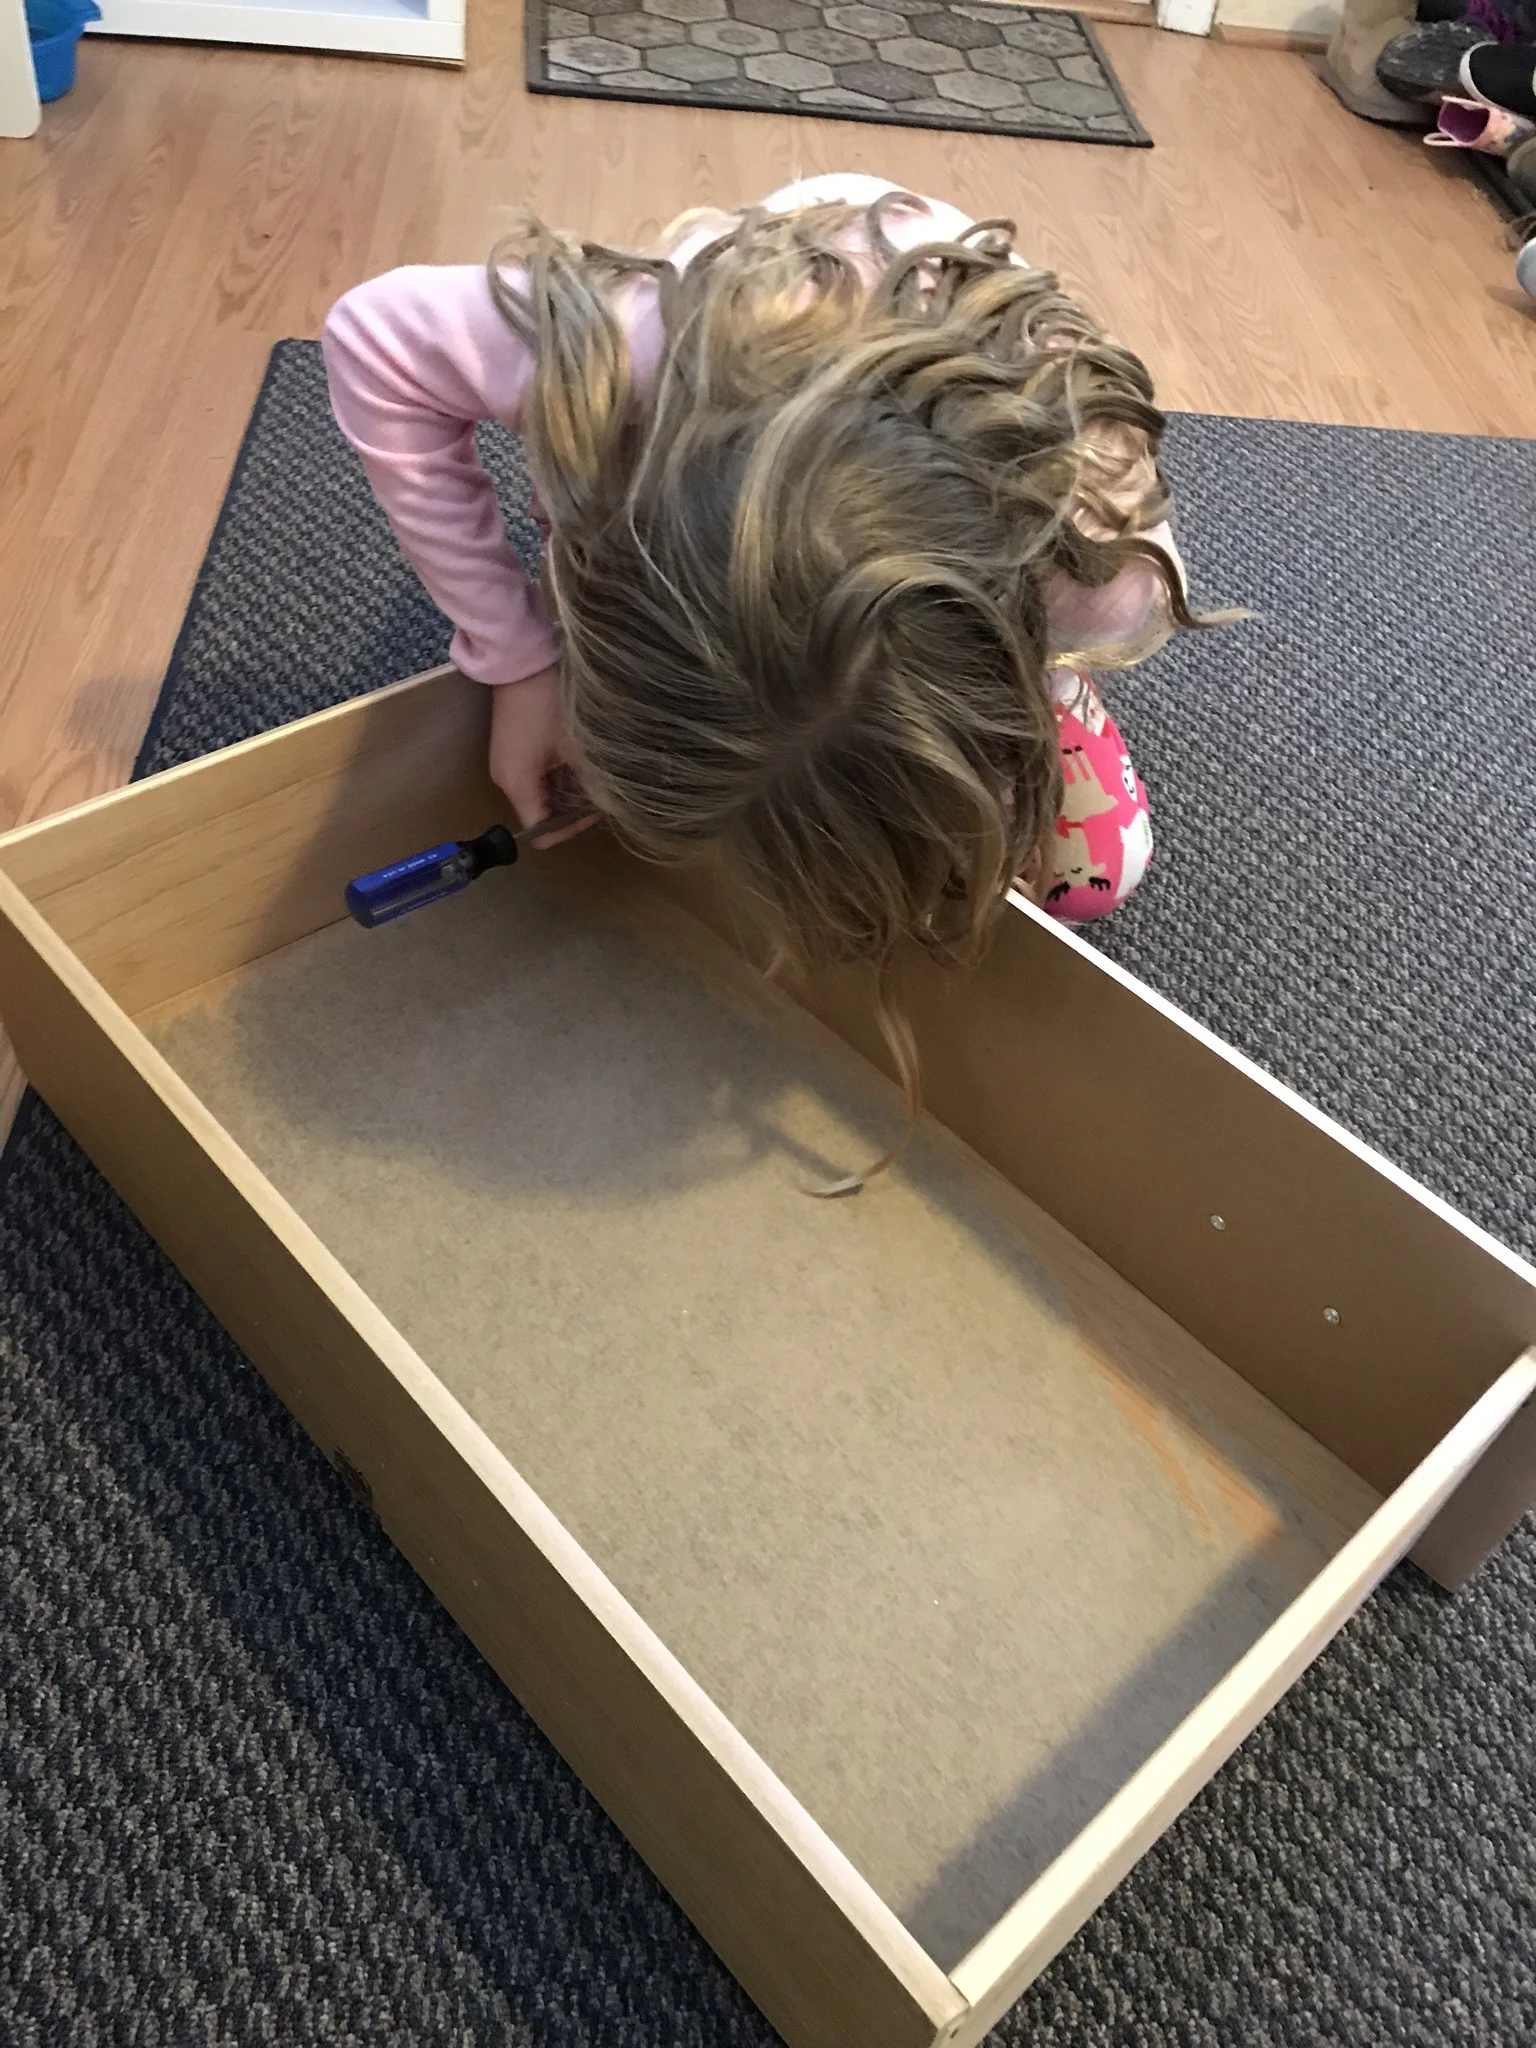
First, I handed my daughter a screwdriver and had her remove the old hardware.
She actually loves doing anything with a screwdriver LOL.
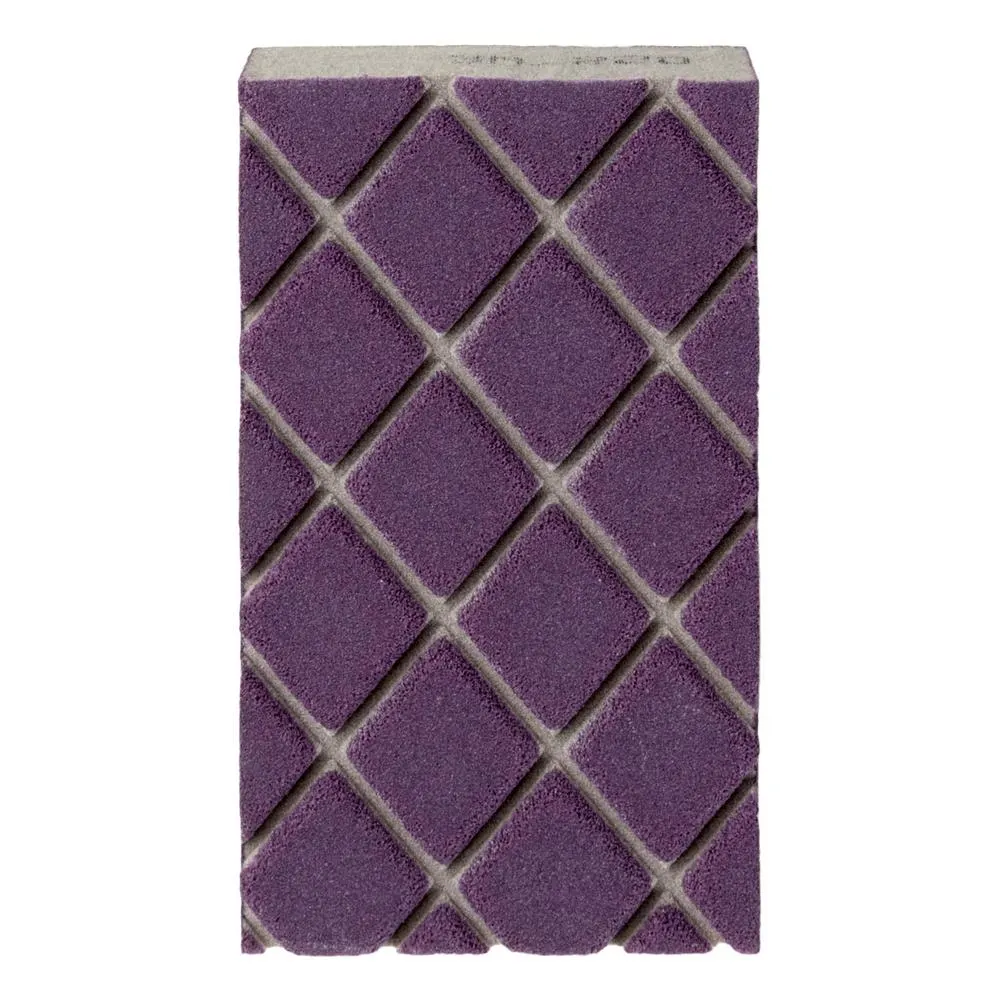
Then I gave her a sandpaper sponge like this one (they are great for kids to help out with projects) and had her sand down the rough spots left by the previous hardware.
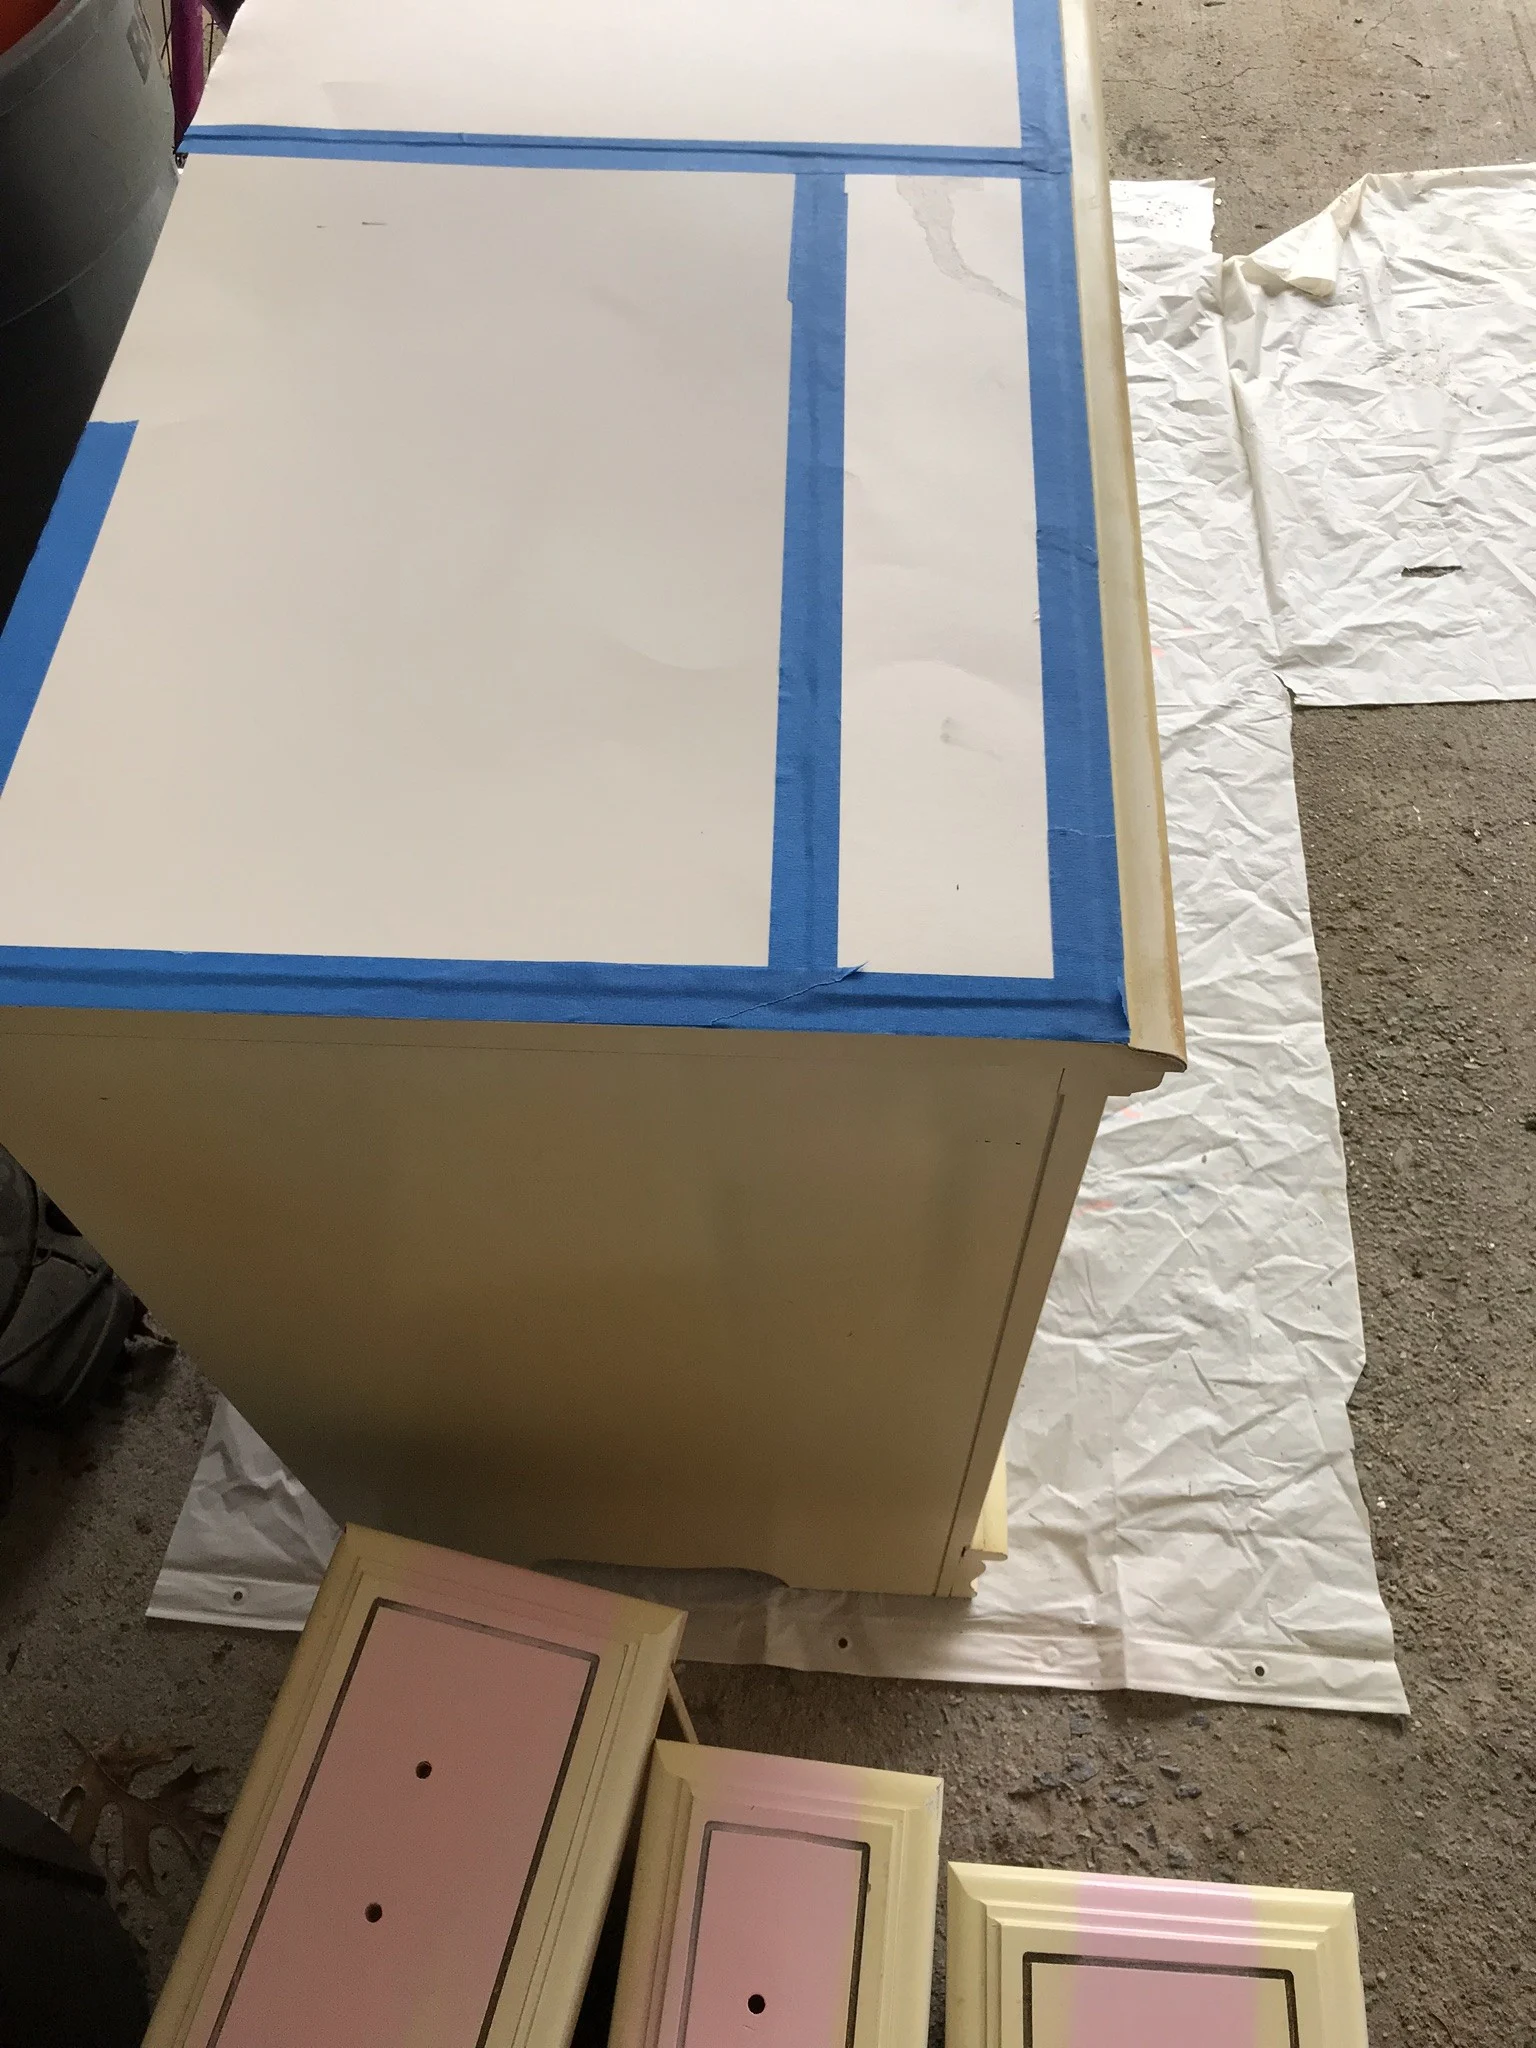
Next I measured the top and cut some poster board to cover it.
I wanted to make sure and not get any paint on the top since it was a nice white already. I secured the poster board with painter’s tape.
There were some tiny gashes left by the old hardware that I tried to fill with paint as much as possible. There was also an old decal I was able to scratch off with my fingernails.
The only thing my daughter couldn’t do was the actual spray painting.
We don’t have a mask that fits her and her little fingers aren’t strong enough to pull the top down for an extended period of time.
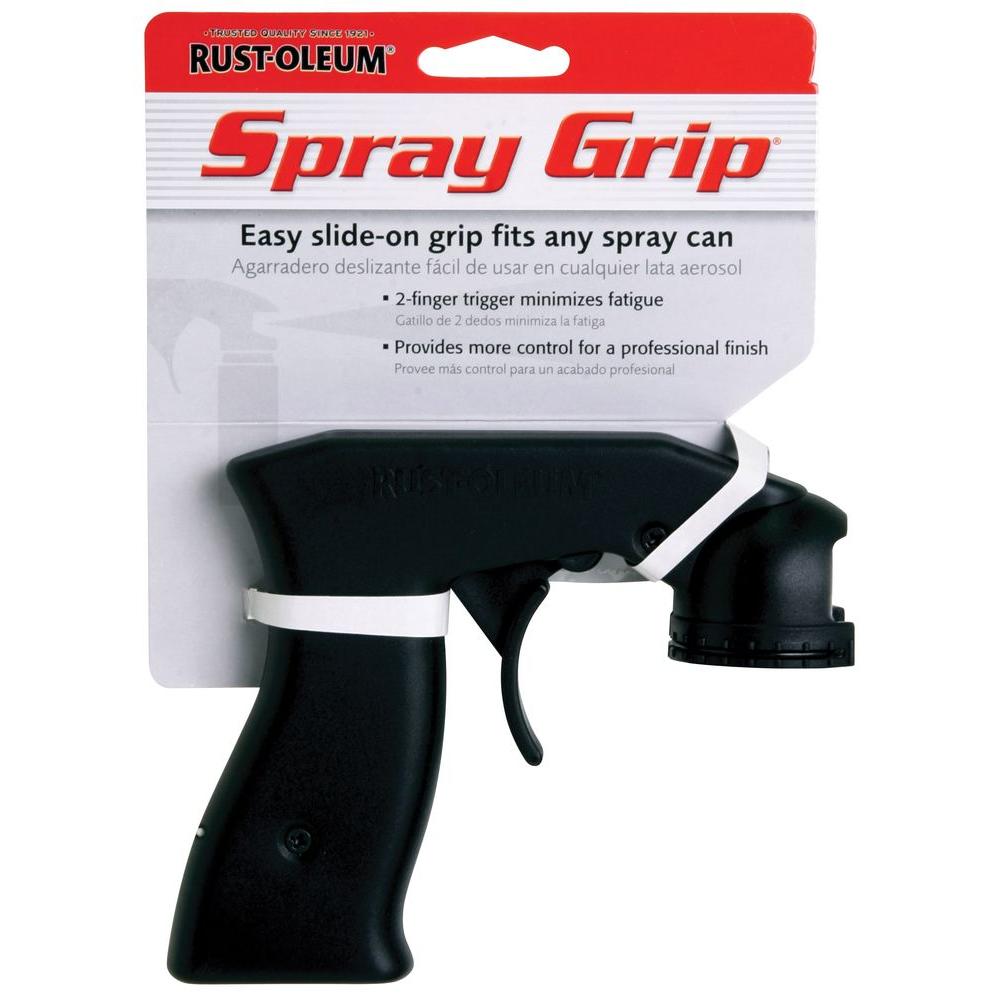
This little spray paint handle gadget is the best invention ever. It makes spray painting SO MUCH easier and is under $5.
I highly recommend getting one for any larger project. I have used mine so much.
After the dresser base and drawer fronts were painted, I gave her the new hardware and she put that one.
I did have to go back and tighten everything up later when she wasn’t looking, of course.
That was it! The project took less than two hours from start to finish.
DIY Painted Chest of Drawers Cost
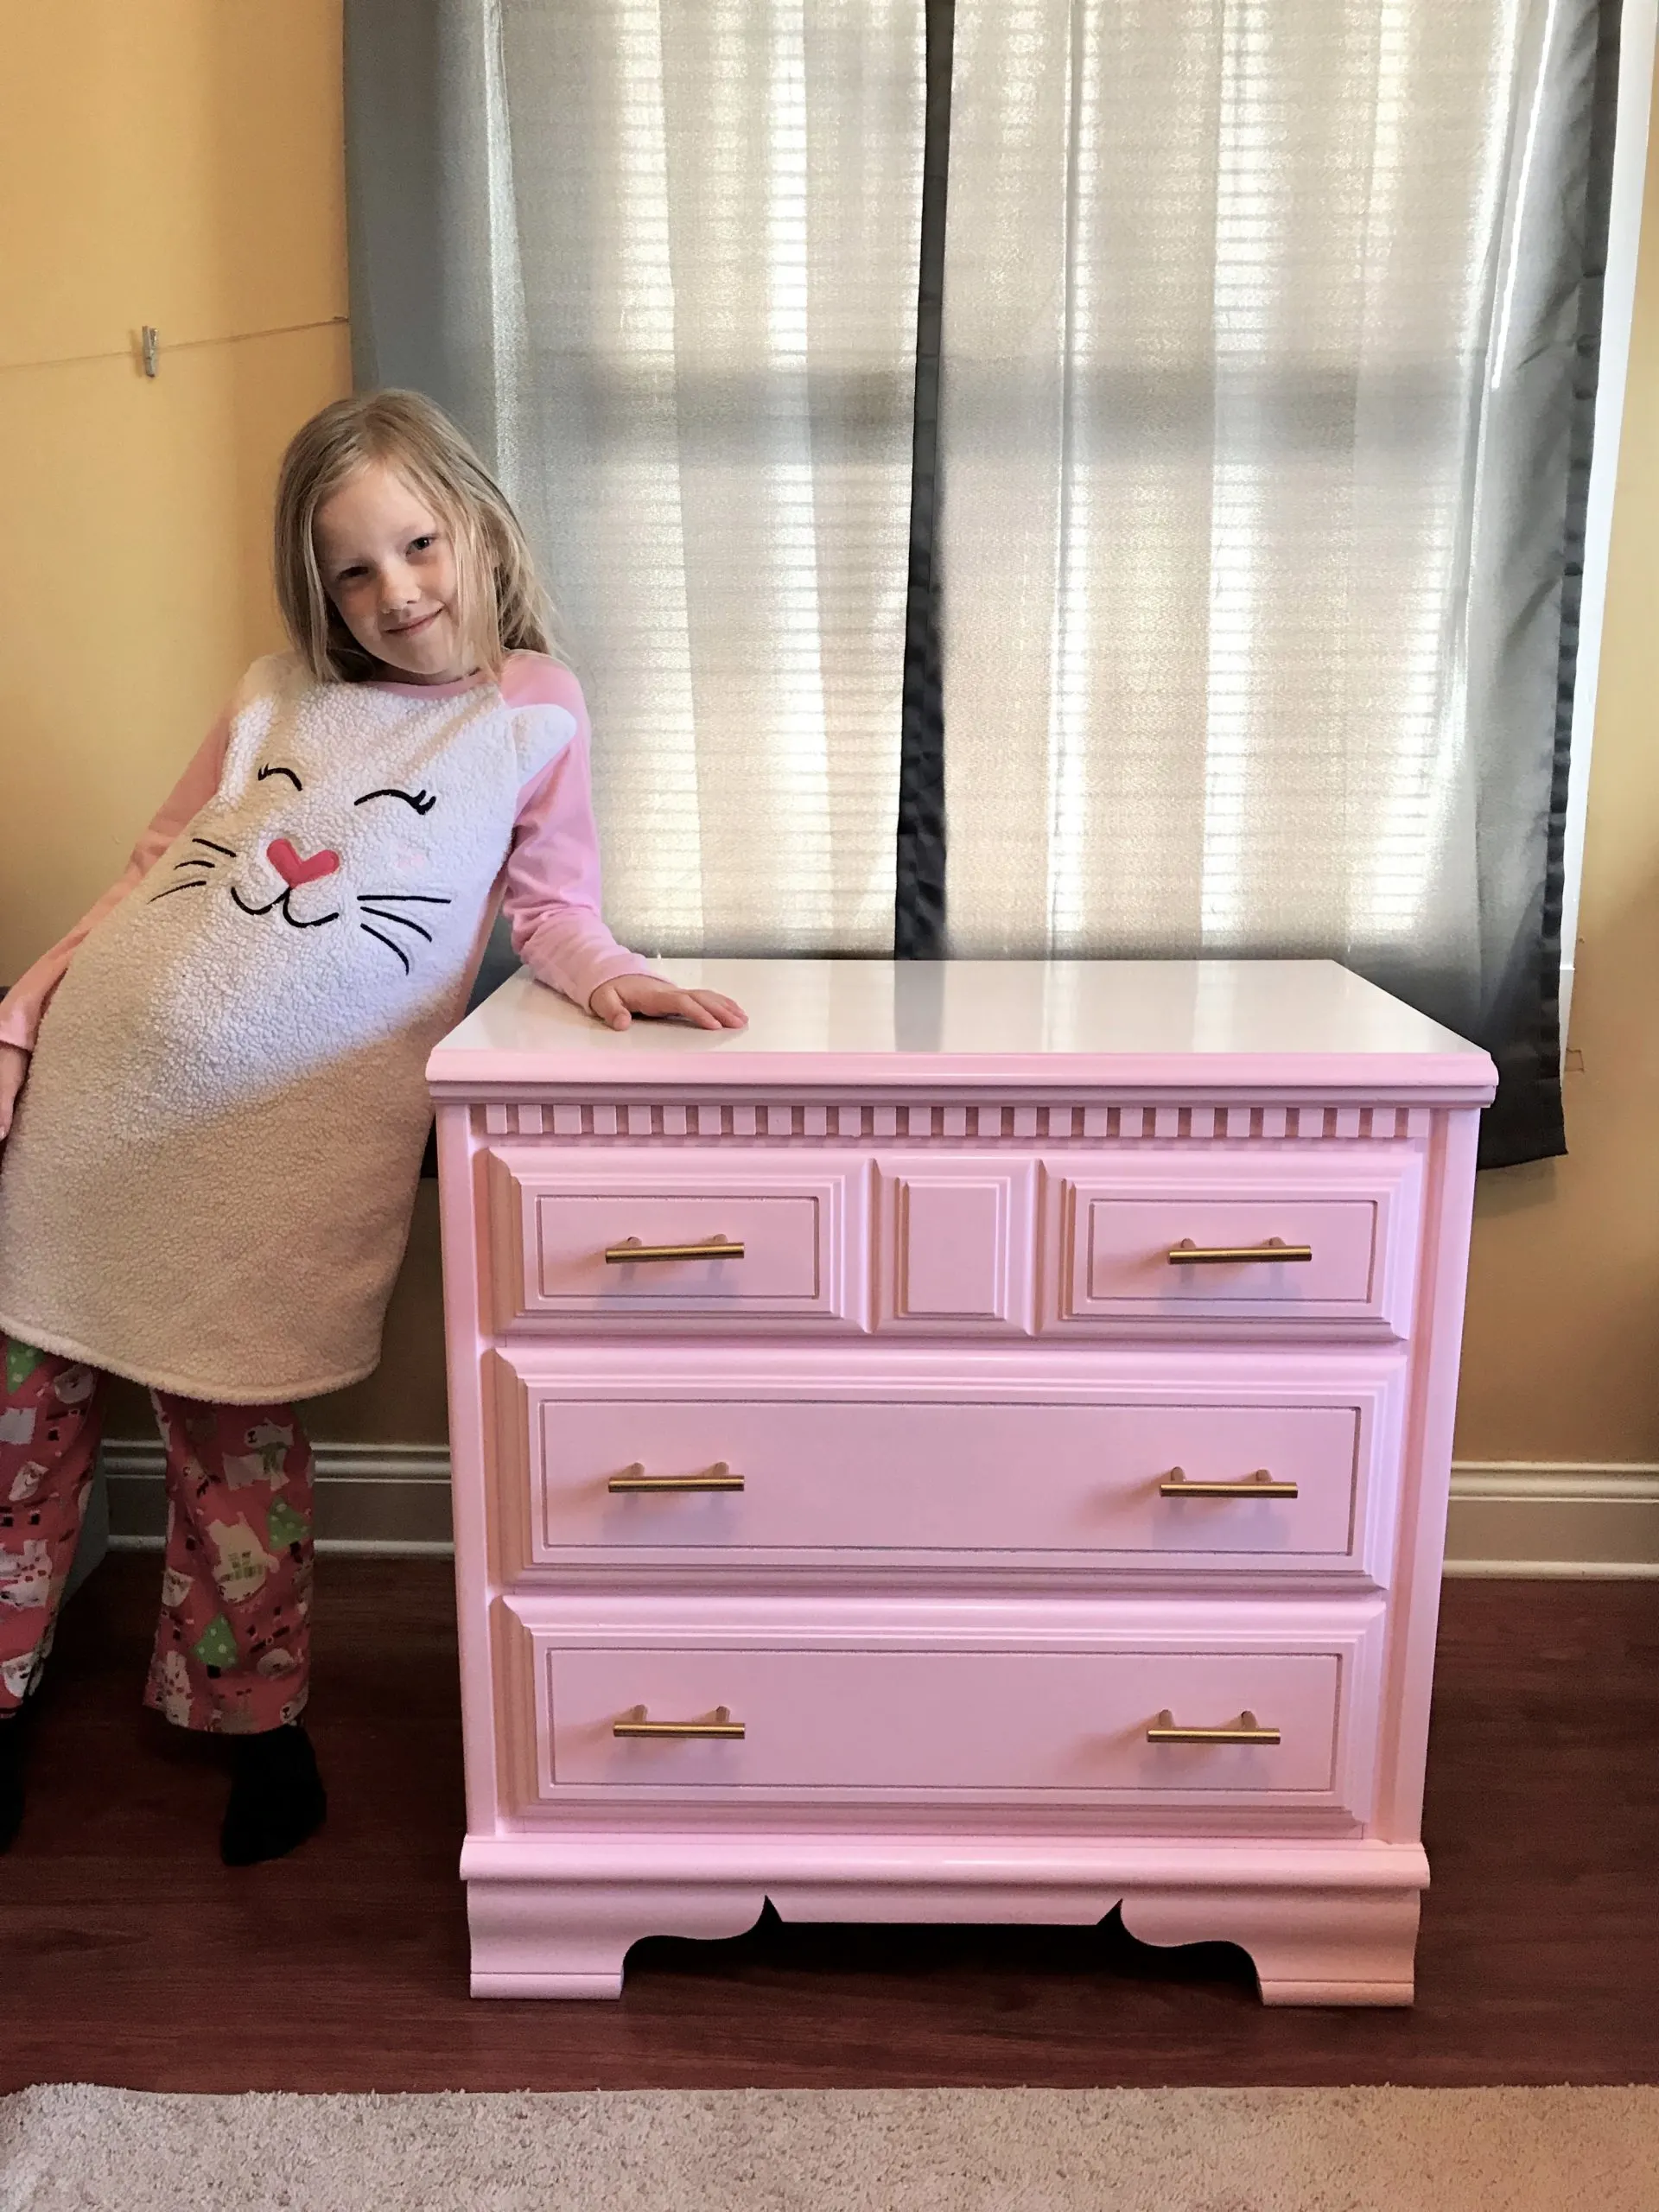
And here is the DIY painted dresser all put back together. I was actually amazed at how great it turned out!
The pink, gold, and white go together really well. It looks great in her bedroom.
The drawers slide nicely and we didn’t even need to put any contact paper on the bottom of the drawers (though you definitely could if you wanted to).
Here’s what we spent on the project:
- Can of spray paint: $7.94
- Set of drawer pulls: $14.99
TOTAL: $22.93
The little girl is in love with her new dresser and is so proud of how much she helped with it.
Our total investment was $73 which is less than the cheaply made furniture on Amazon, etc.
Upcycling a thrift store dresser is so much fun, too! I think Mina and Karen would be proud.
Any questions about this DIY painted dresser?
Please leave a comment below or send me a message on The Frugal South’s Facebook page.
Check out these other budget DIY posts you will enjoy:


Sheryll $ Critters.
Wednesday 7th of October 2020
She's a darling, beautiful gi Sheryll $rl. I know you're extremely proud!
Dresser is perfect! I'm jealous.
Trudy
Monday 27th of July 2020
Cute! I love that she helped!