$10 DIY House Number Sign
This post may contain affiliate links. This means I may receive compensation when you click on links and actions are tracked by means of a code in the links.
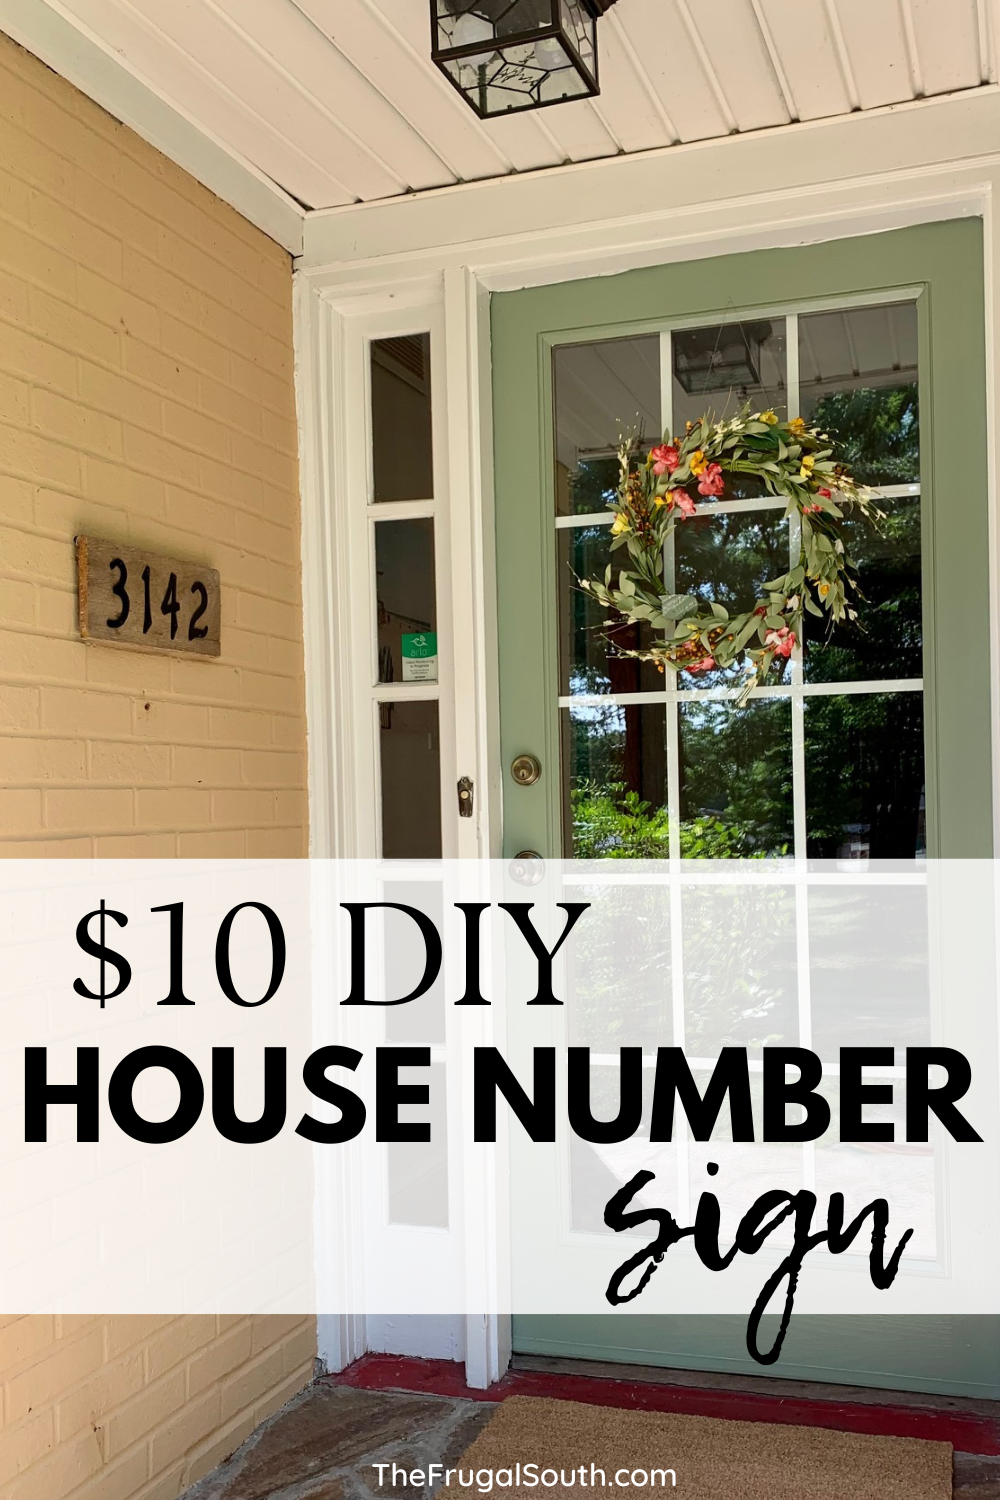
How to make a simple DIY house number sign! Use an upcycled piece of pallet wood and aluminum numbers for this DIY address sign.
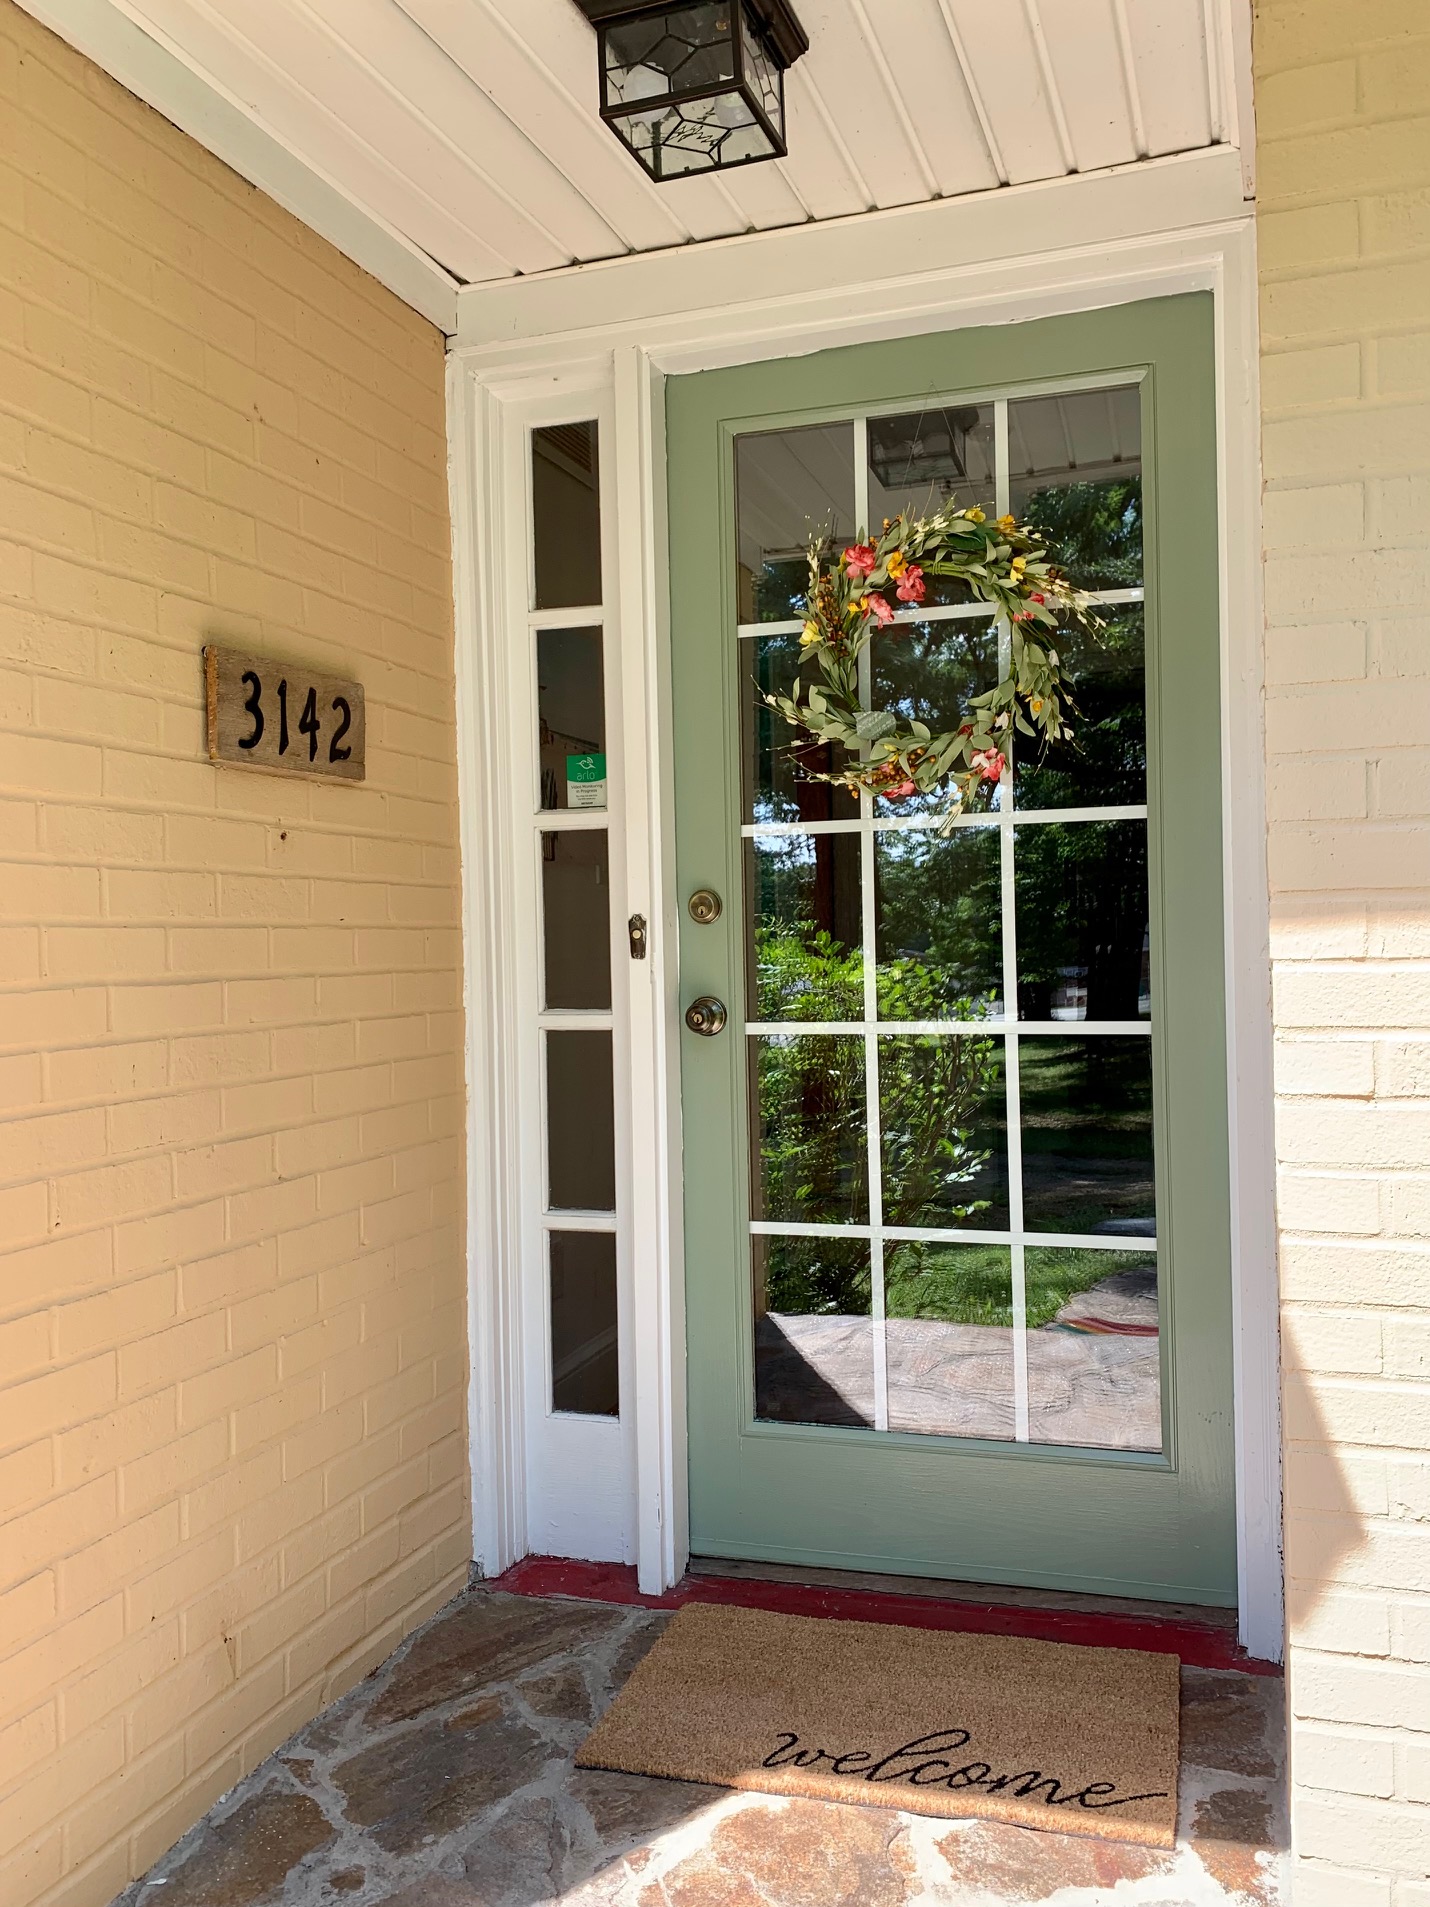
When I bought my house it didn’t have a house number sign by the front door.
I get lots of packages delivered (hello Amazon) so I definitely needed a sign out front to confirm my address!
First, I looked at custom house number signs on Etsy but was disappointed to find they would cost me at least $50 and take weeks to arrive.
So I decided on a DIY address sign!
Here’s a short tutorial if you want to make a rustic DIY address sign like mine.
I made it for around $10 in less than 20 minutes, so it’s a quick and cheap solution if you’re looking for DIY house number sign ideas.
Materials & Tools
Here’s what you’ll need to make a DIY address sign.
First, materials:
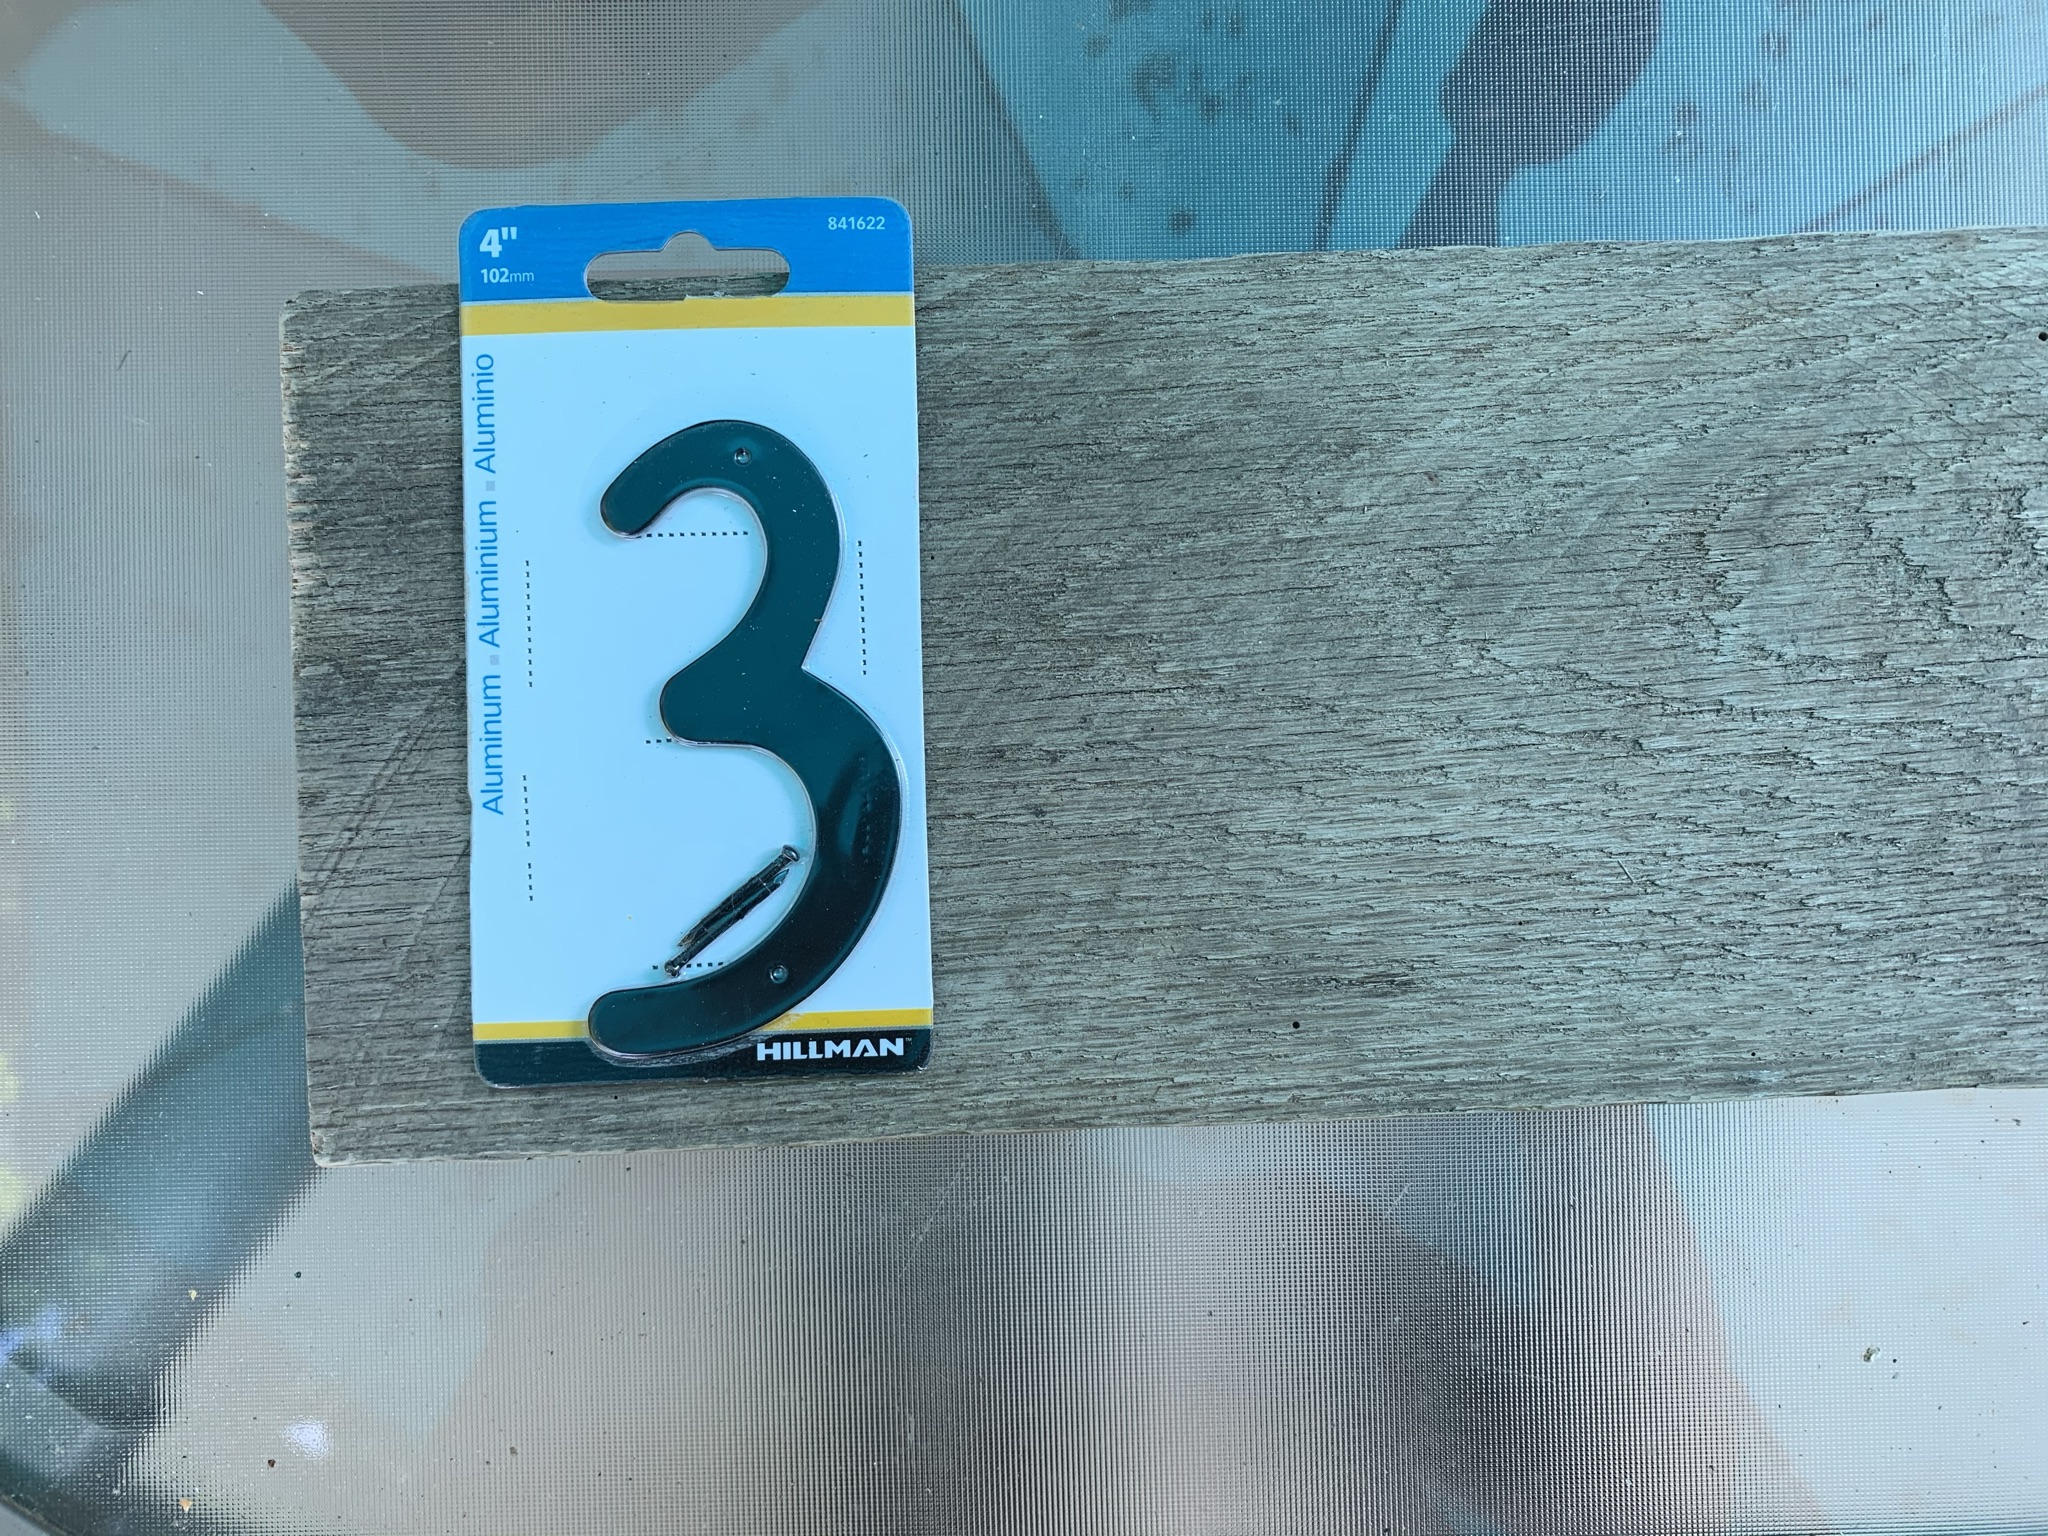
- aluminum or plastic numbers (I bought these numbers from Home Depot)
- a piece of upcycled wood (I cut mine from a pallet)
- picture hanging hardware (I had some leftover from another project)
- string or wire for hanging
- nail or screw to put into the house from which to hang it
Next, here are the tools you’ll need:
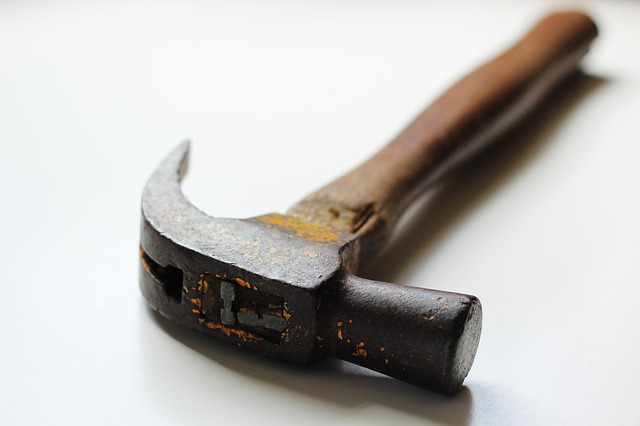
- hammer
- saw (if you don’t already have a piece of wood the correct size)
- drill (if you need to put a screw into the house)
There was an existing screw in the side of my house I could hang the sign on, so that eliminated some tools and materials for me.
How To Make A DIY Address Sign
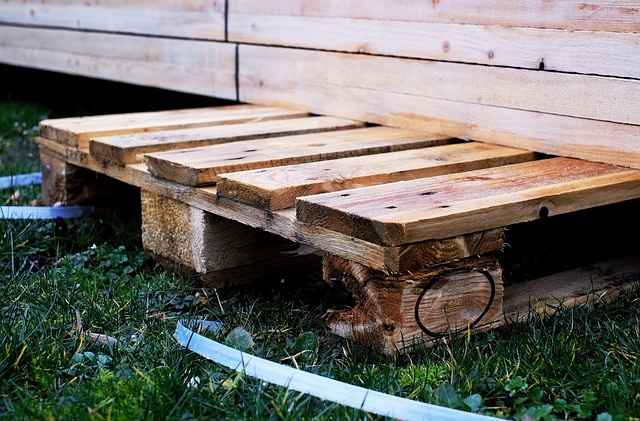
I had some old wooden pallets lying around that I decided to repurpose for my sign.
I used my handheld circular saw to cut a piece right from the middle of the pallet without having to take it apart!
Taking a pallet apart is not fun, so it was great to avoid this step and get a piece that would work for my sign DIY House Number Sign.
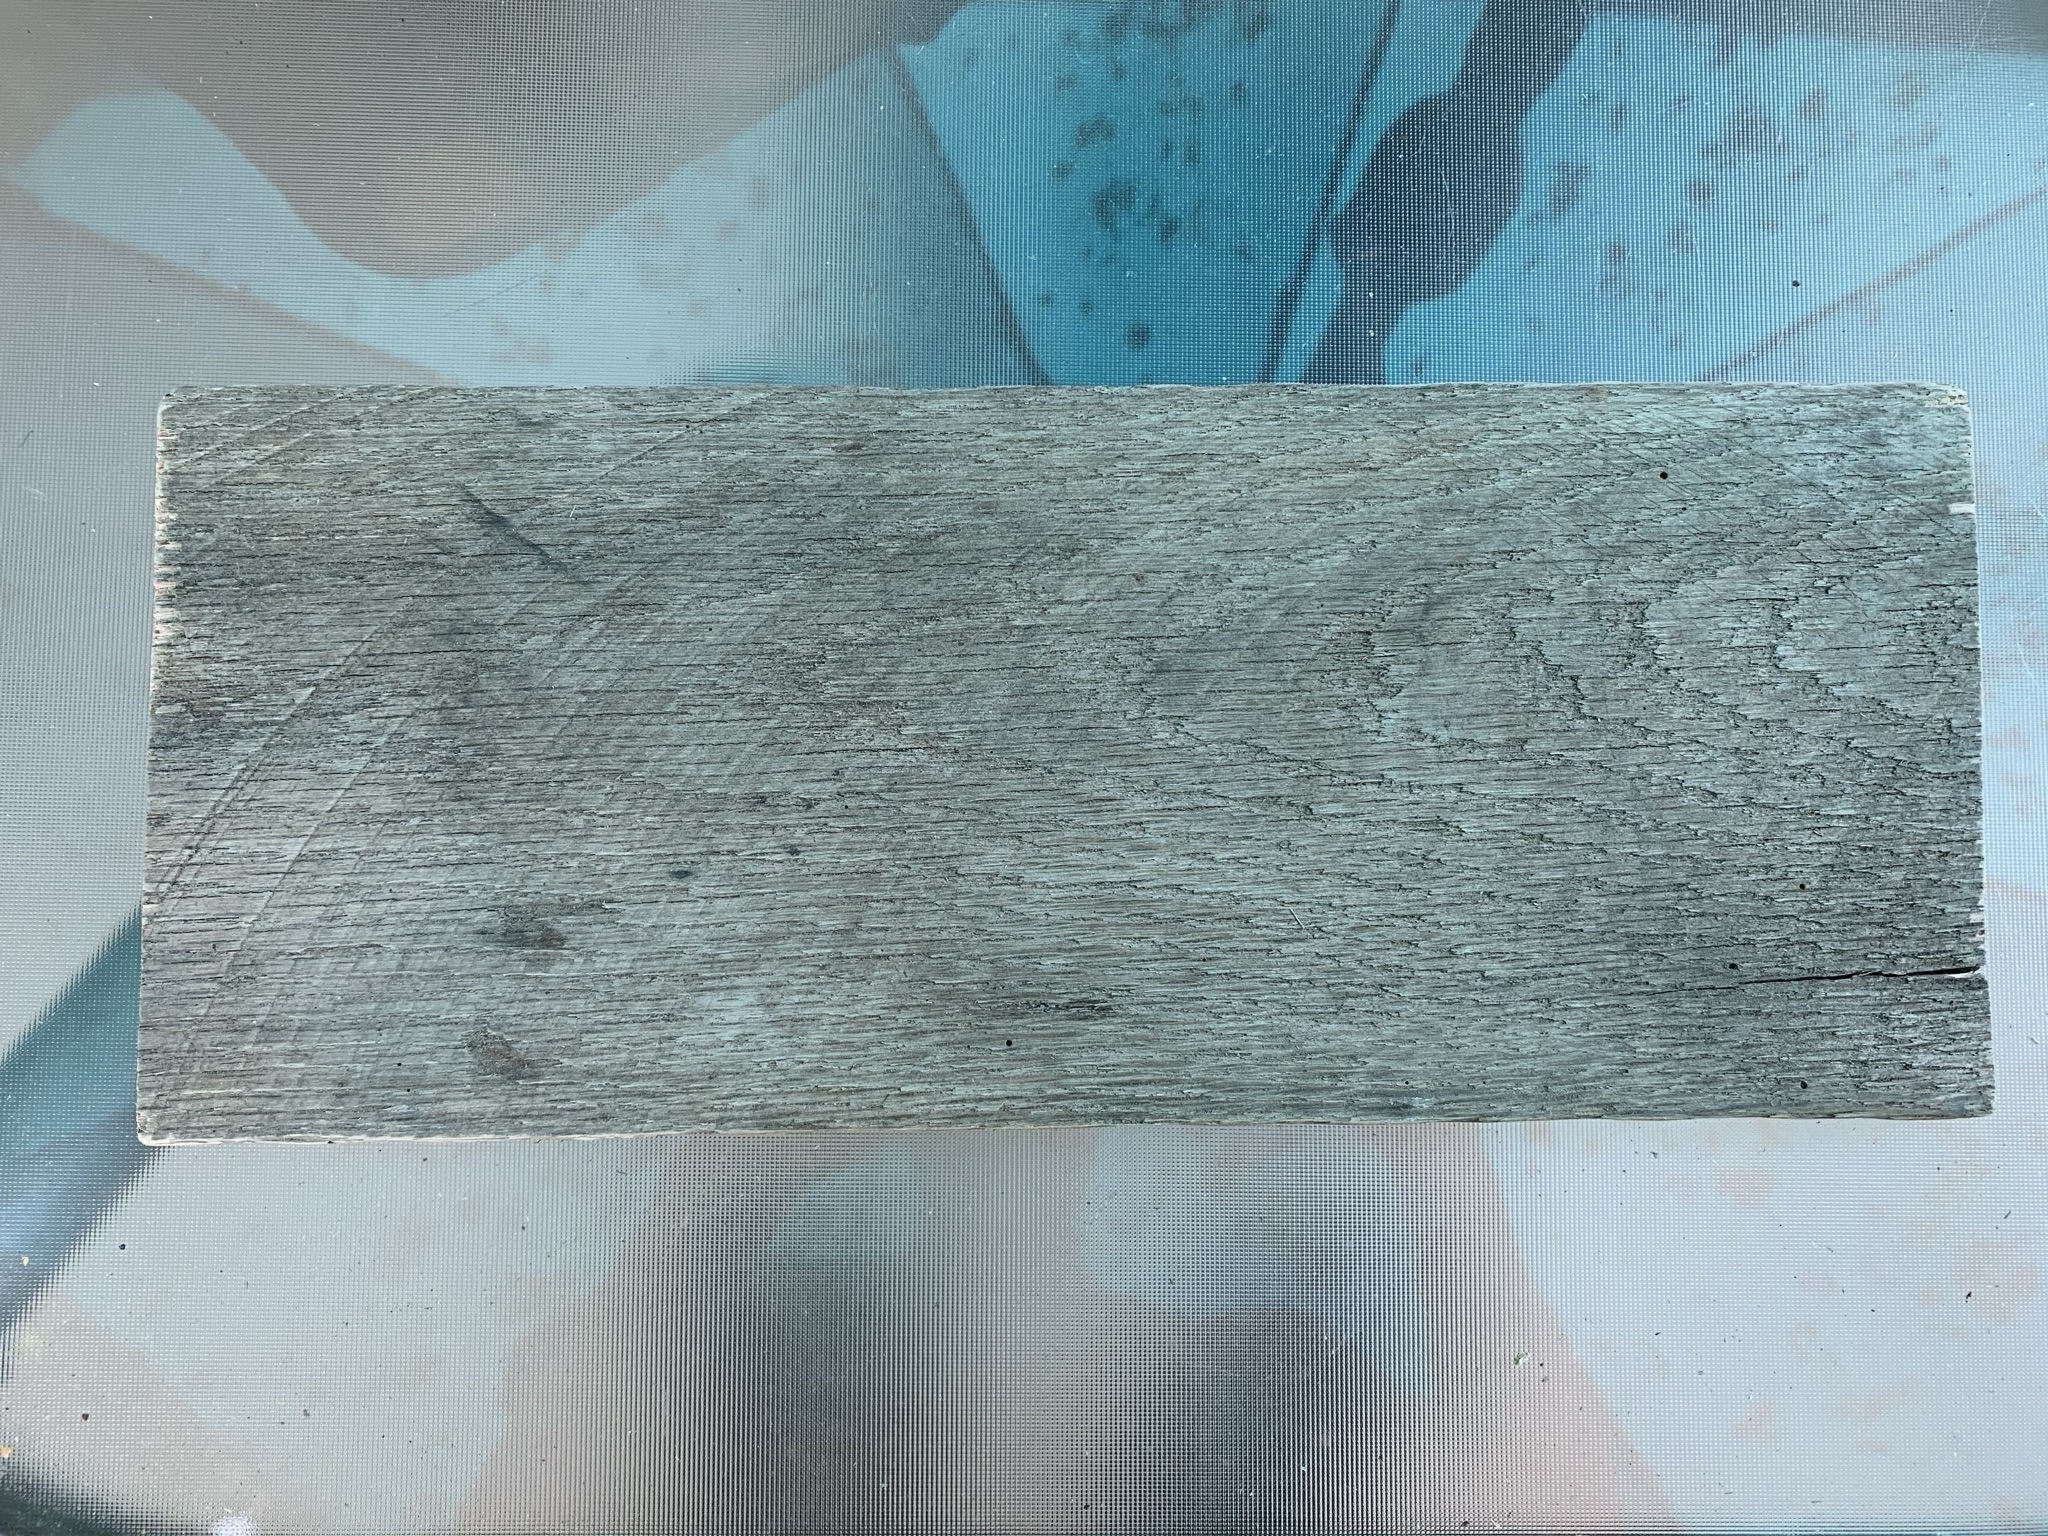
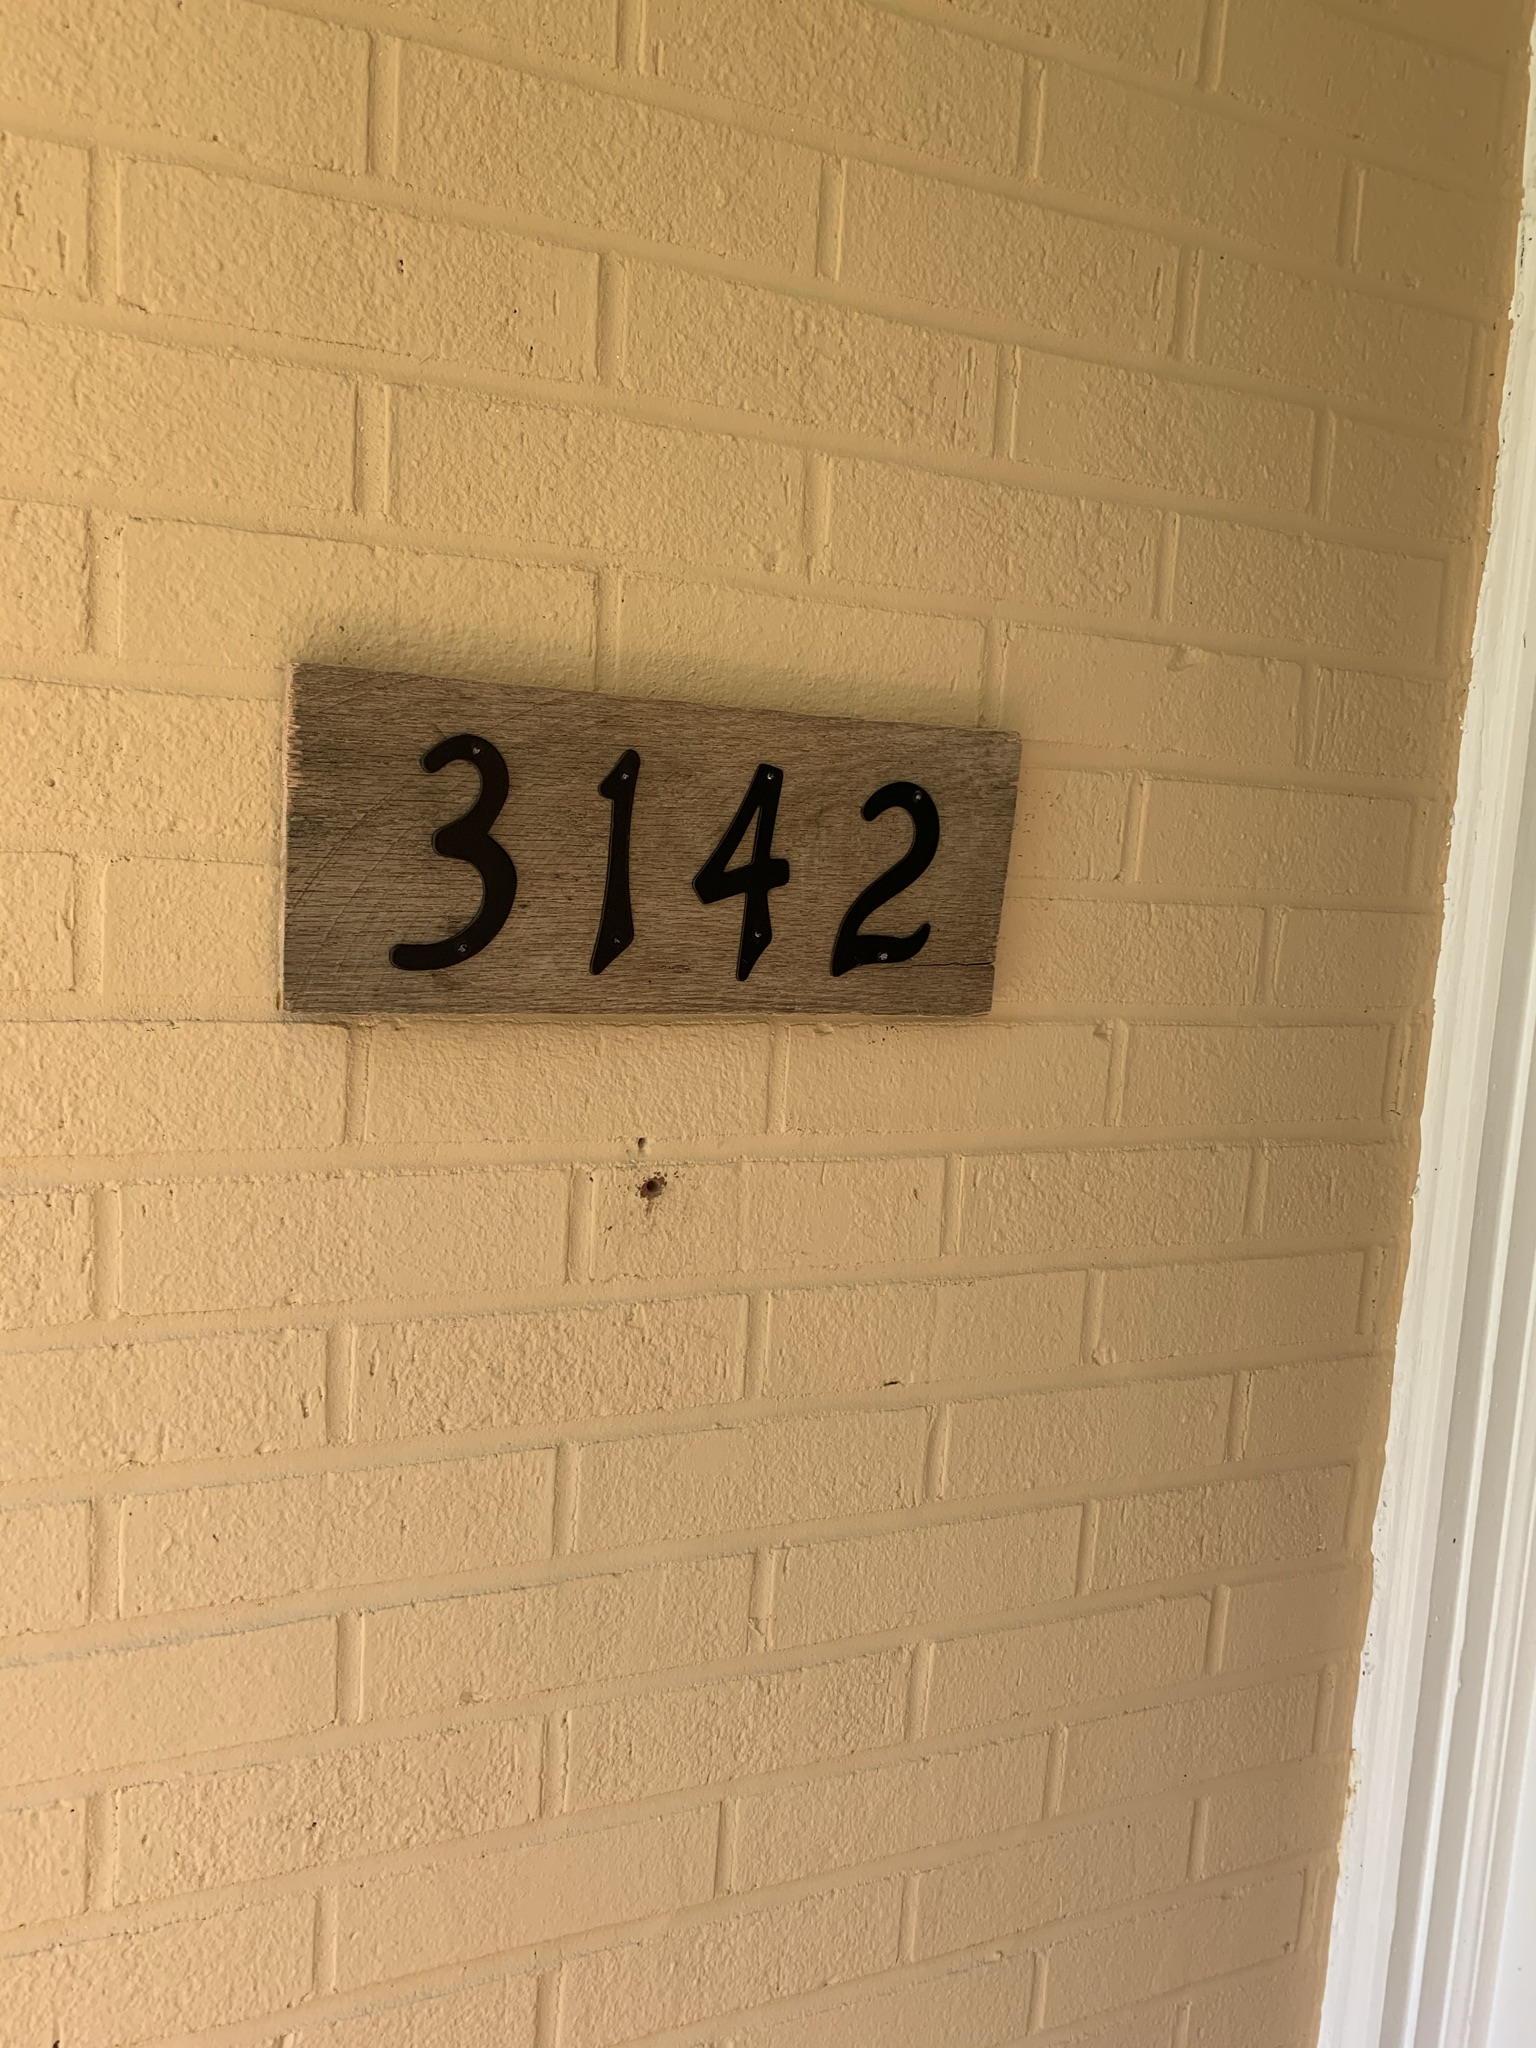
The height of the piece of pallet wood was already about 6 inches, which was perfect for my sign.
I cut the length to 14 inches which was perfect for the spacing of my house numbers.
I used a bit of sandpaper to smooth out the edges after I cut it.
If you want a more polished look, you could also finish the wood with stain or paint it.
If you don’t have access to pallet wood, you can also buy a piece of wood at Home Depot and they will cut it to size for you!
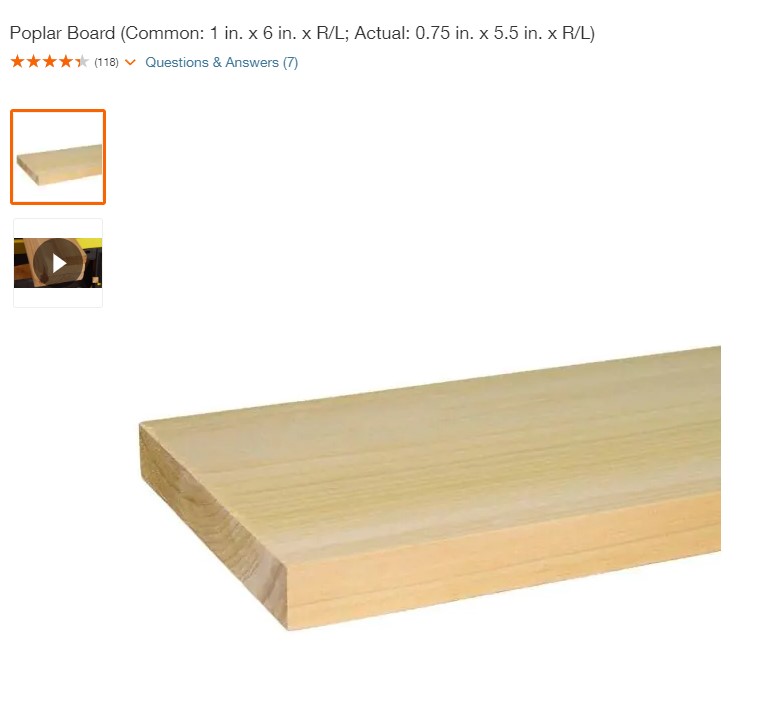
This 1 in. x 6 in. Poplar Board would work perfectly for this project.
They will cut the length for you and you’ll just pay for what you want, which will definitely be less than $10.
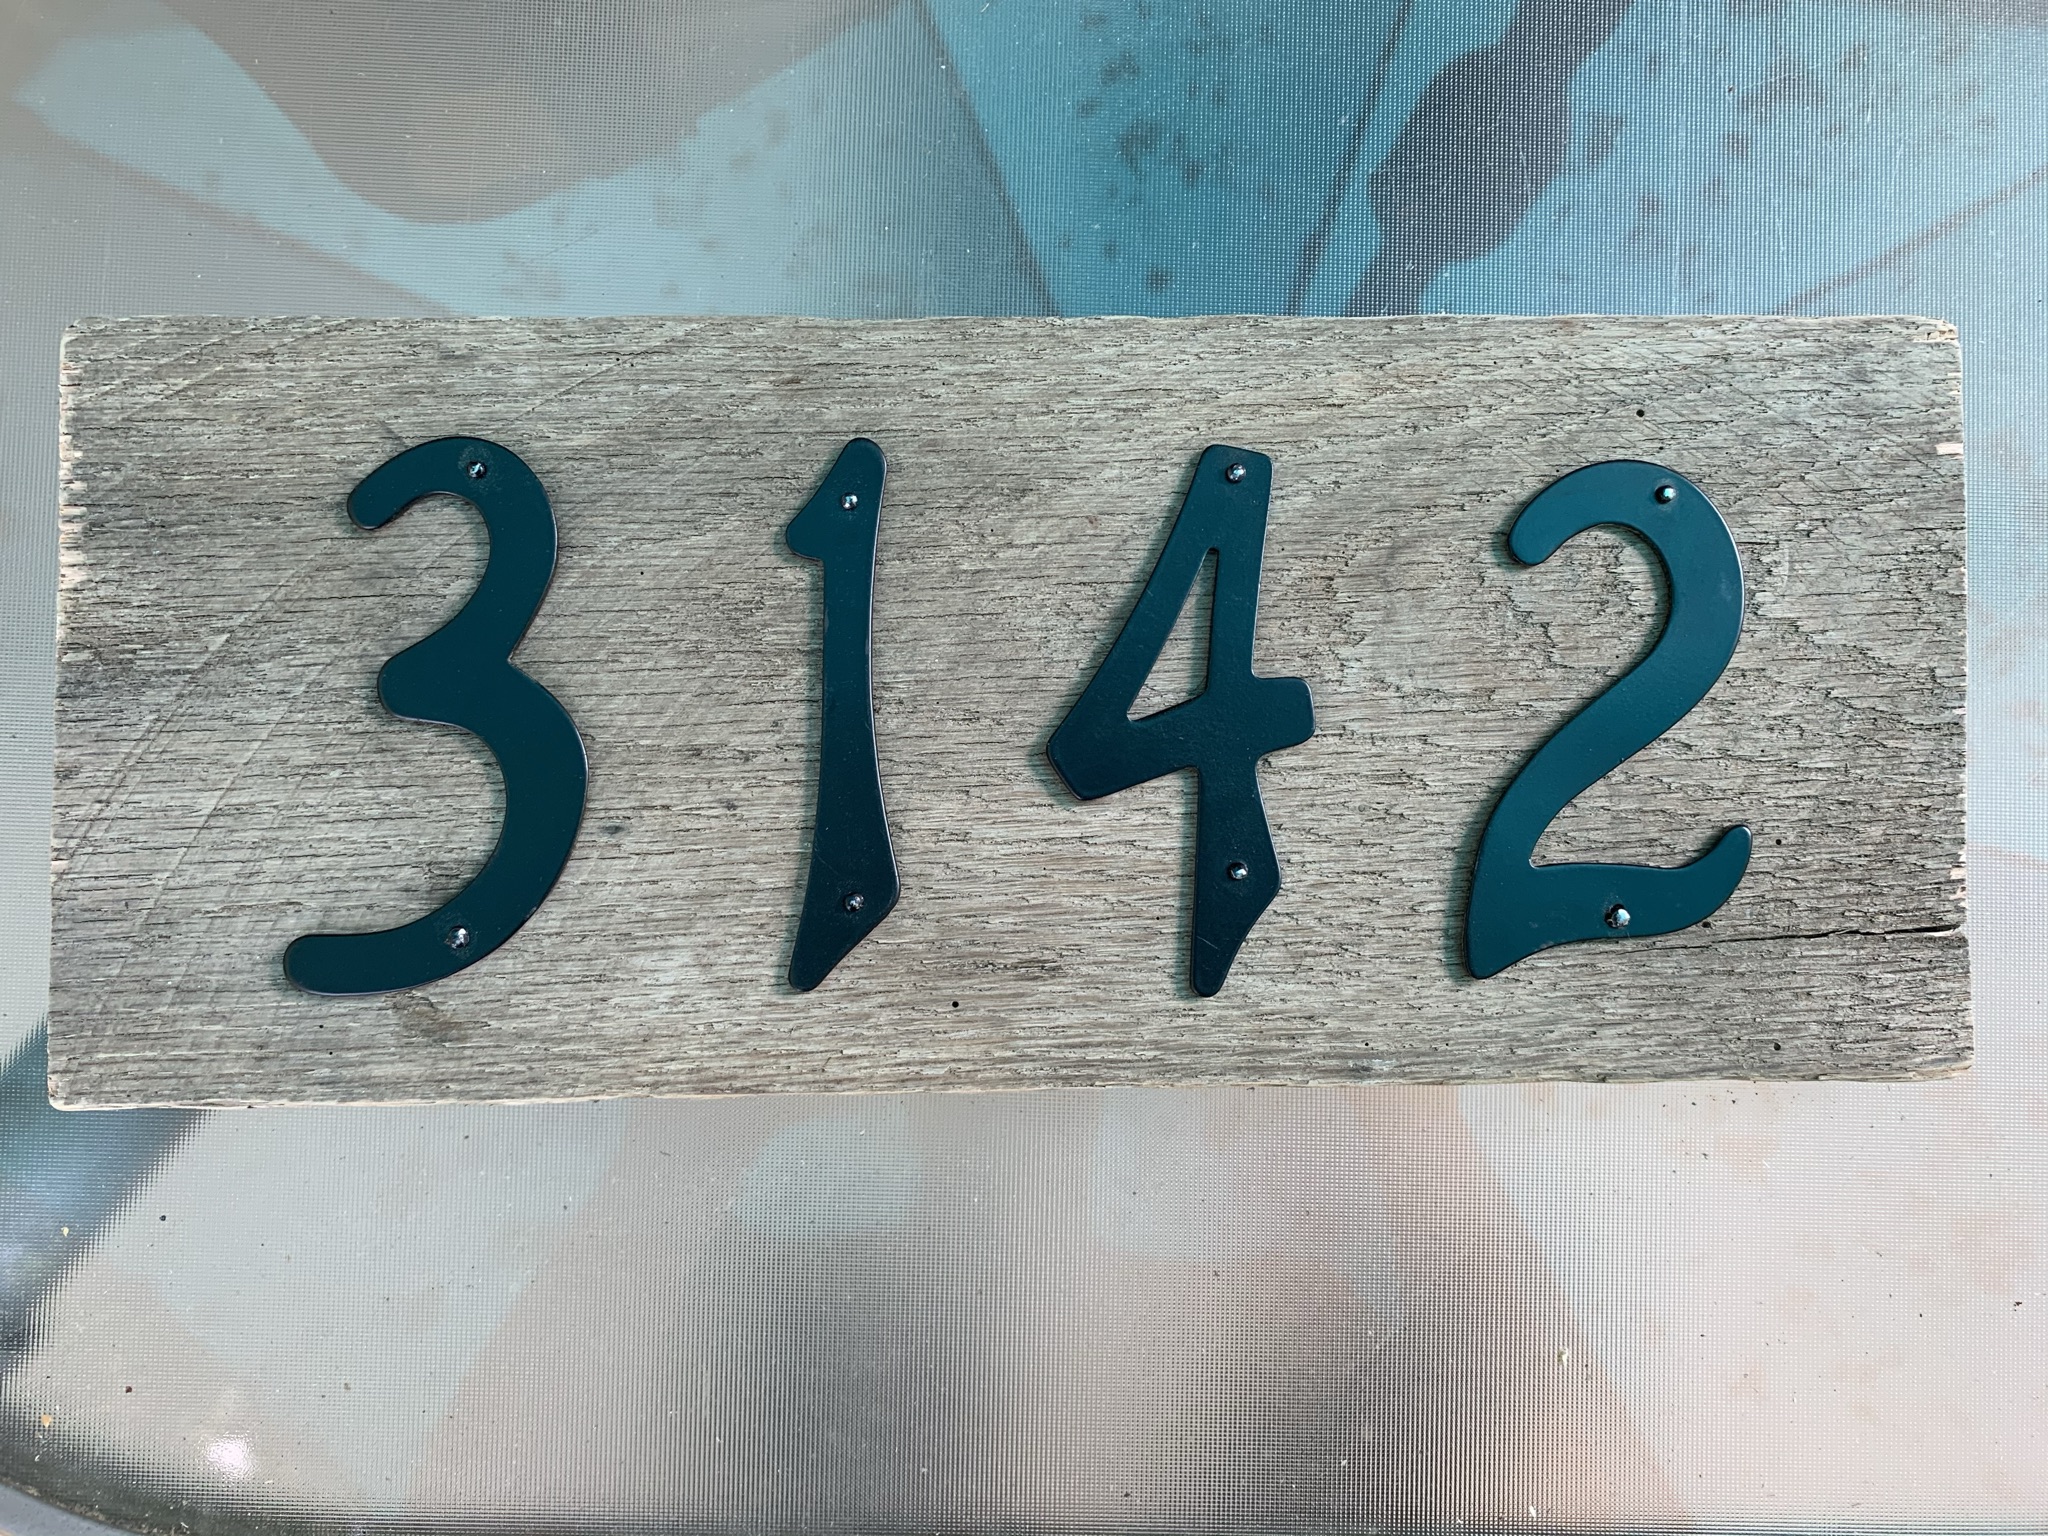
The next step was to align my numbers and attach them to the board with the included nails.
I just eyeballed mine but if you like to be more precise you can measure of course!
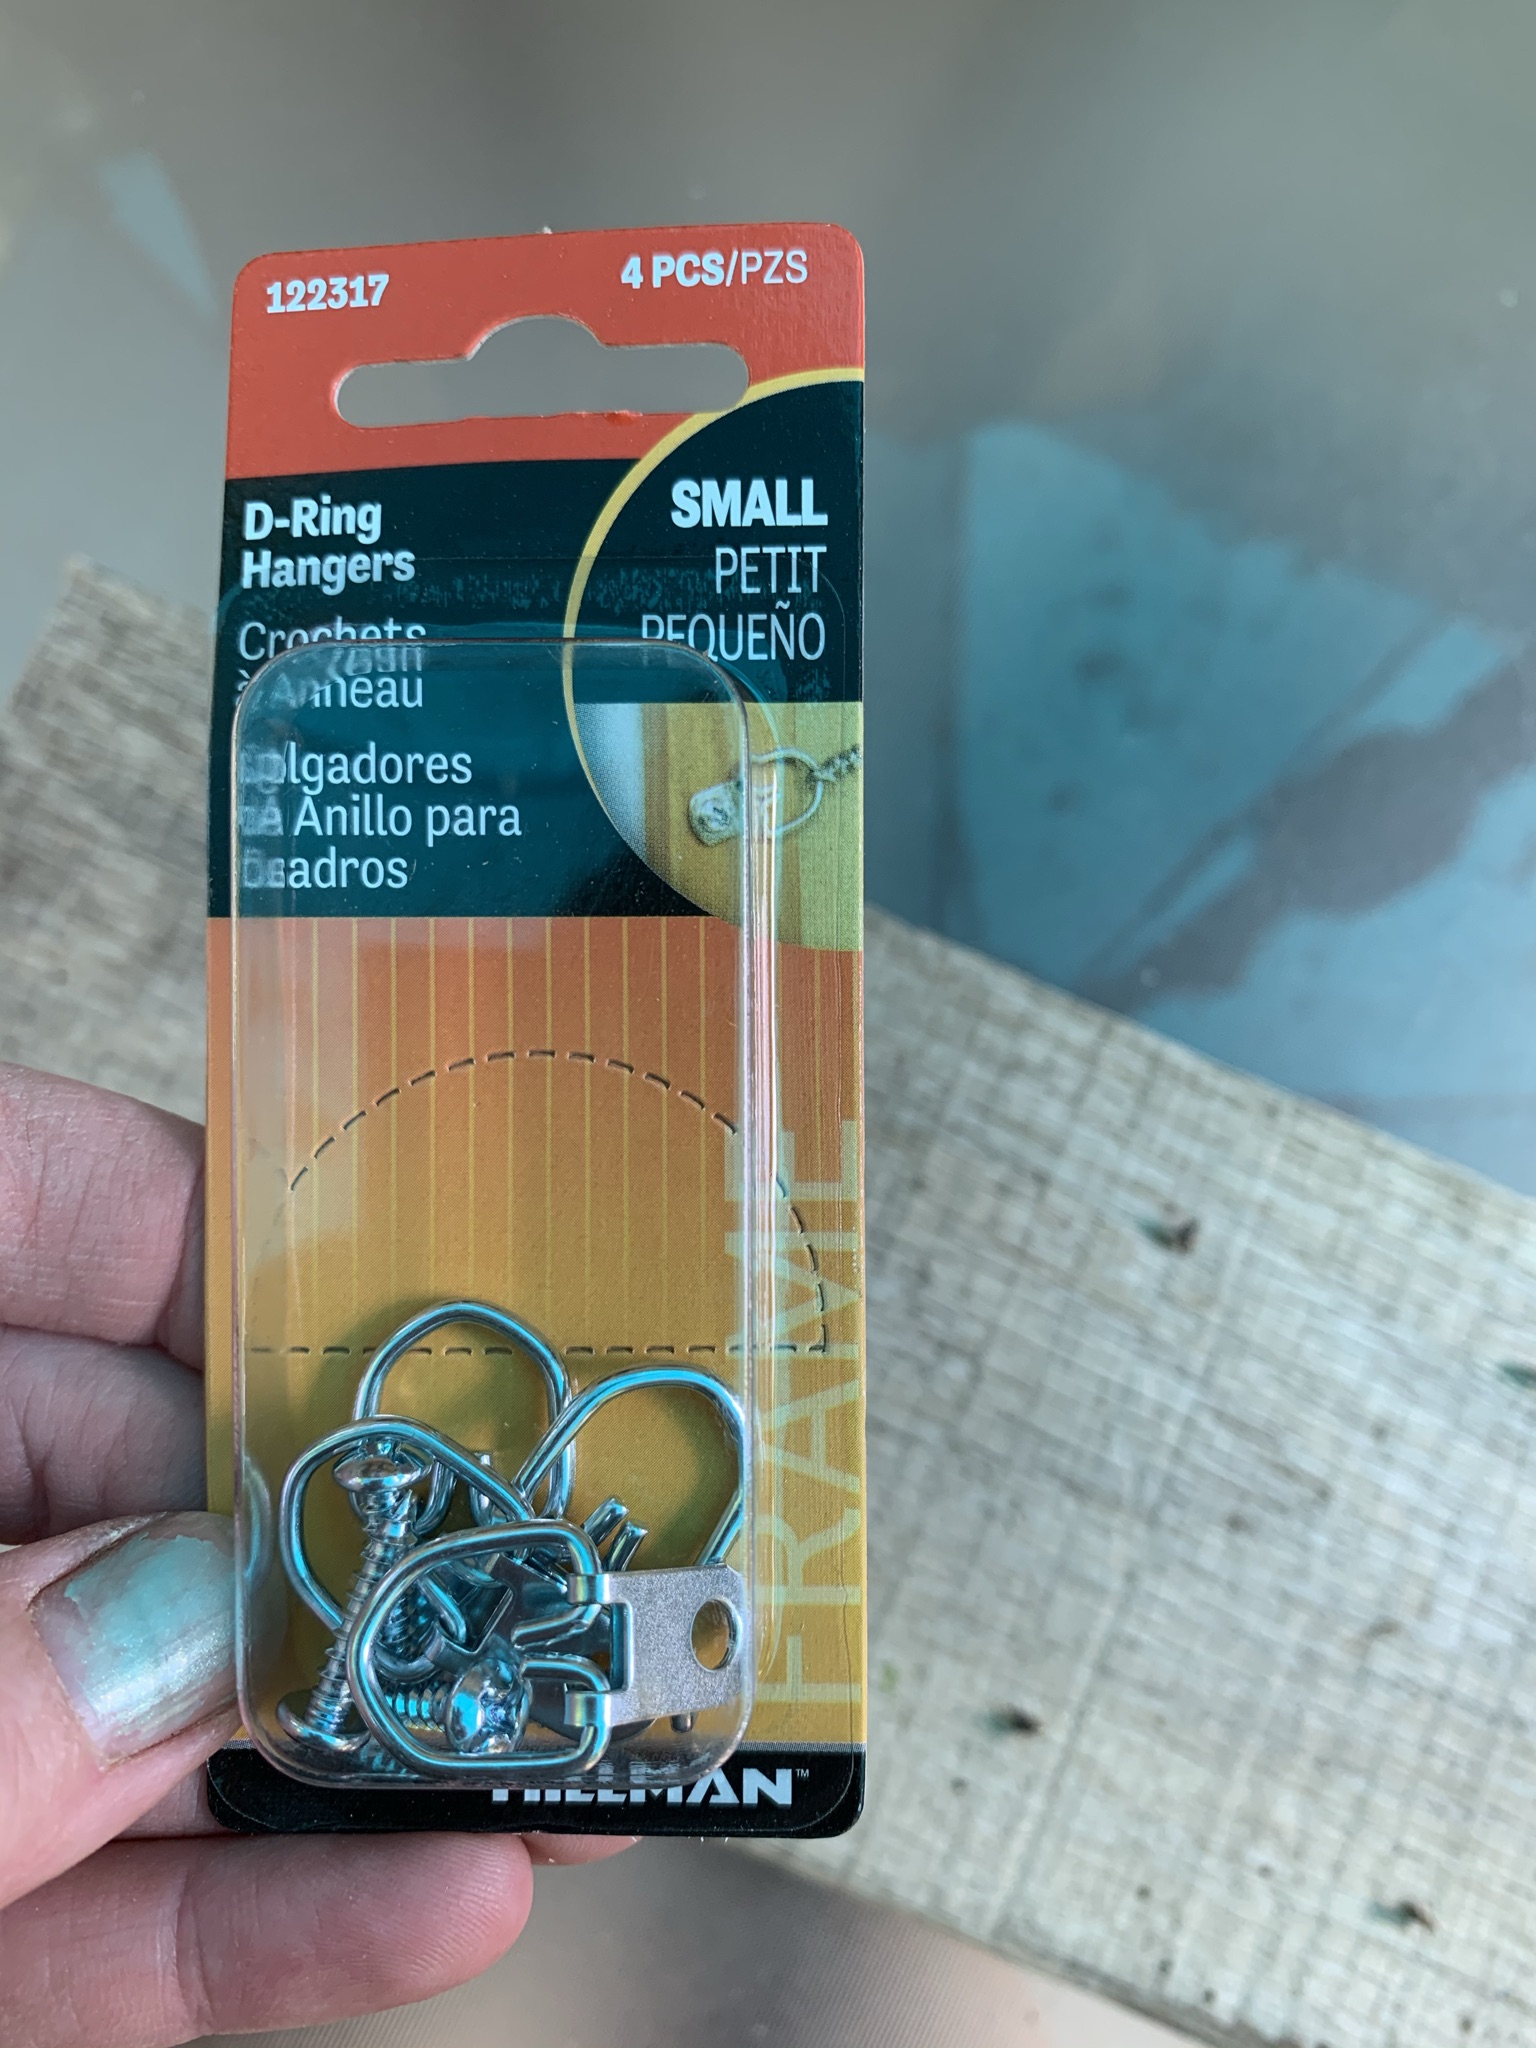
Next, I needed some way to hang my DIY house number sign on the house.
I had these small D-ring hangers in my toolkit from a picture-hanging project so I didn’t have to run out and buy them.
But if you don’t have them you can buy some from Home Depot for just a few bucks.
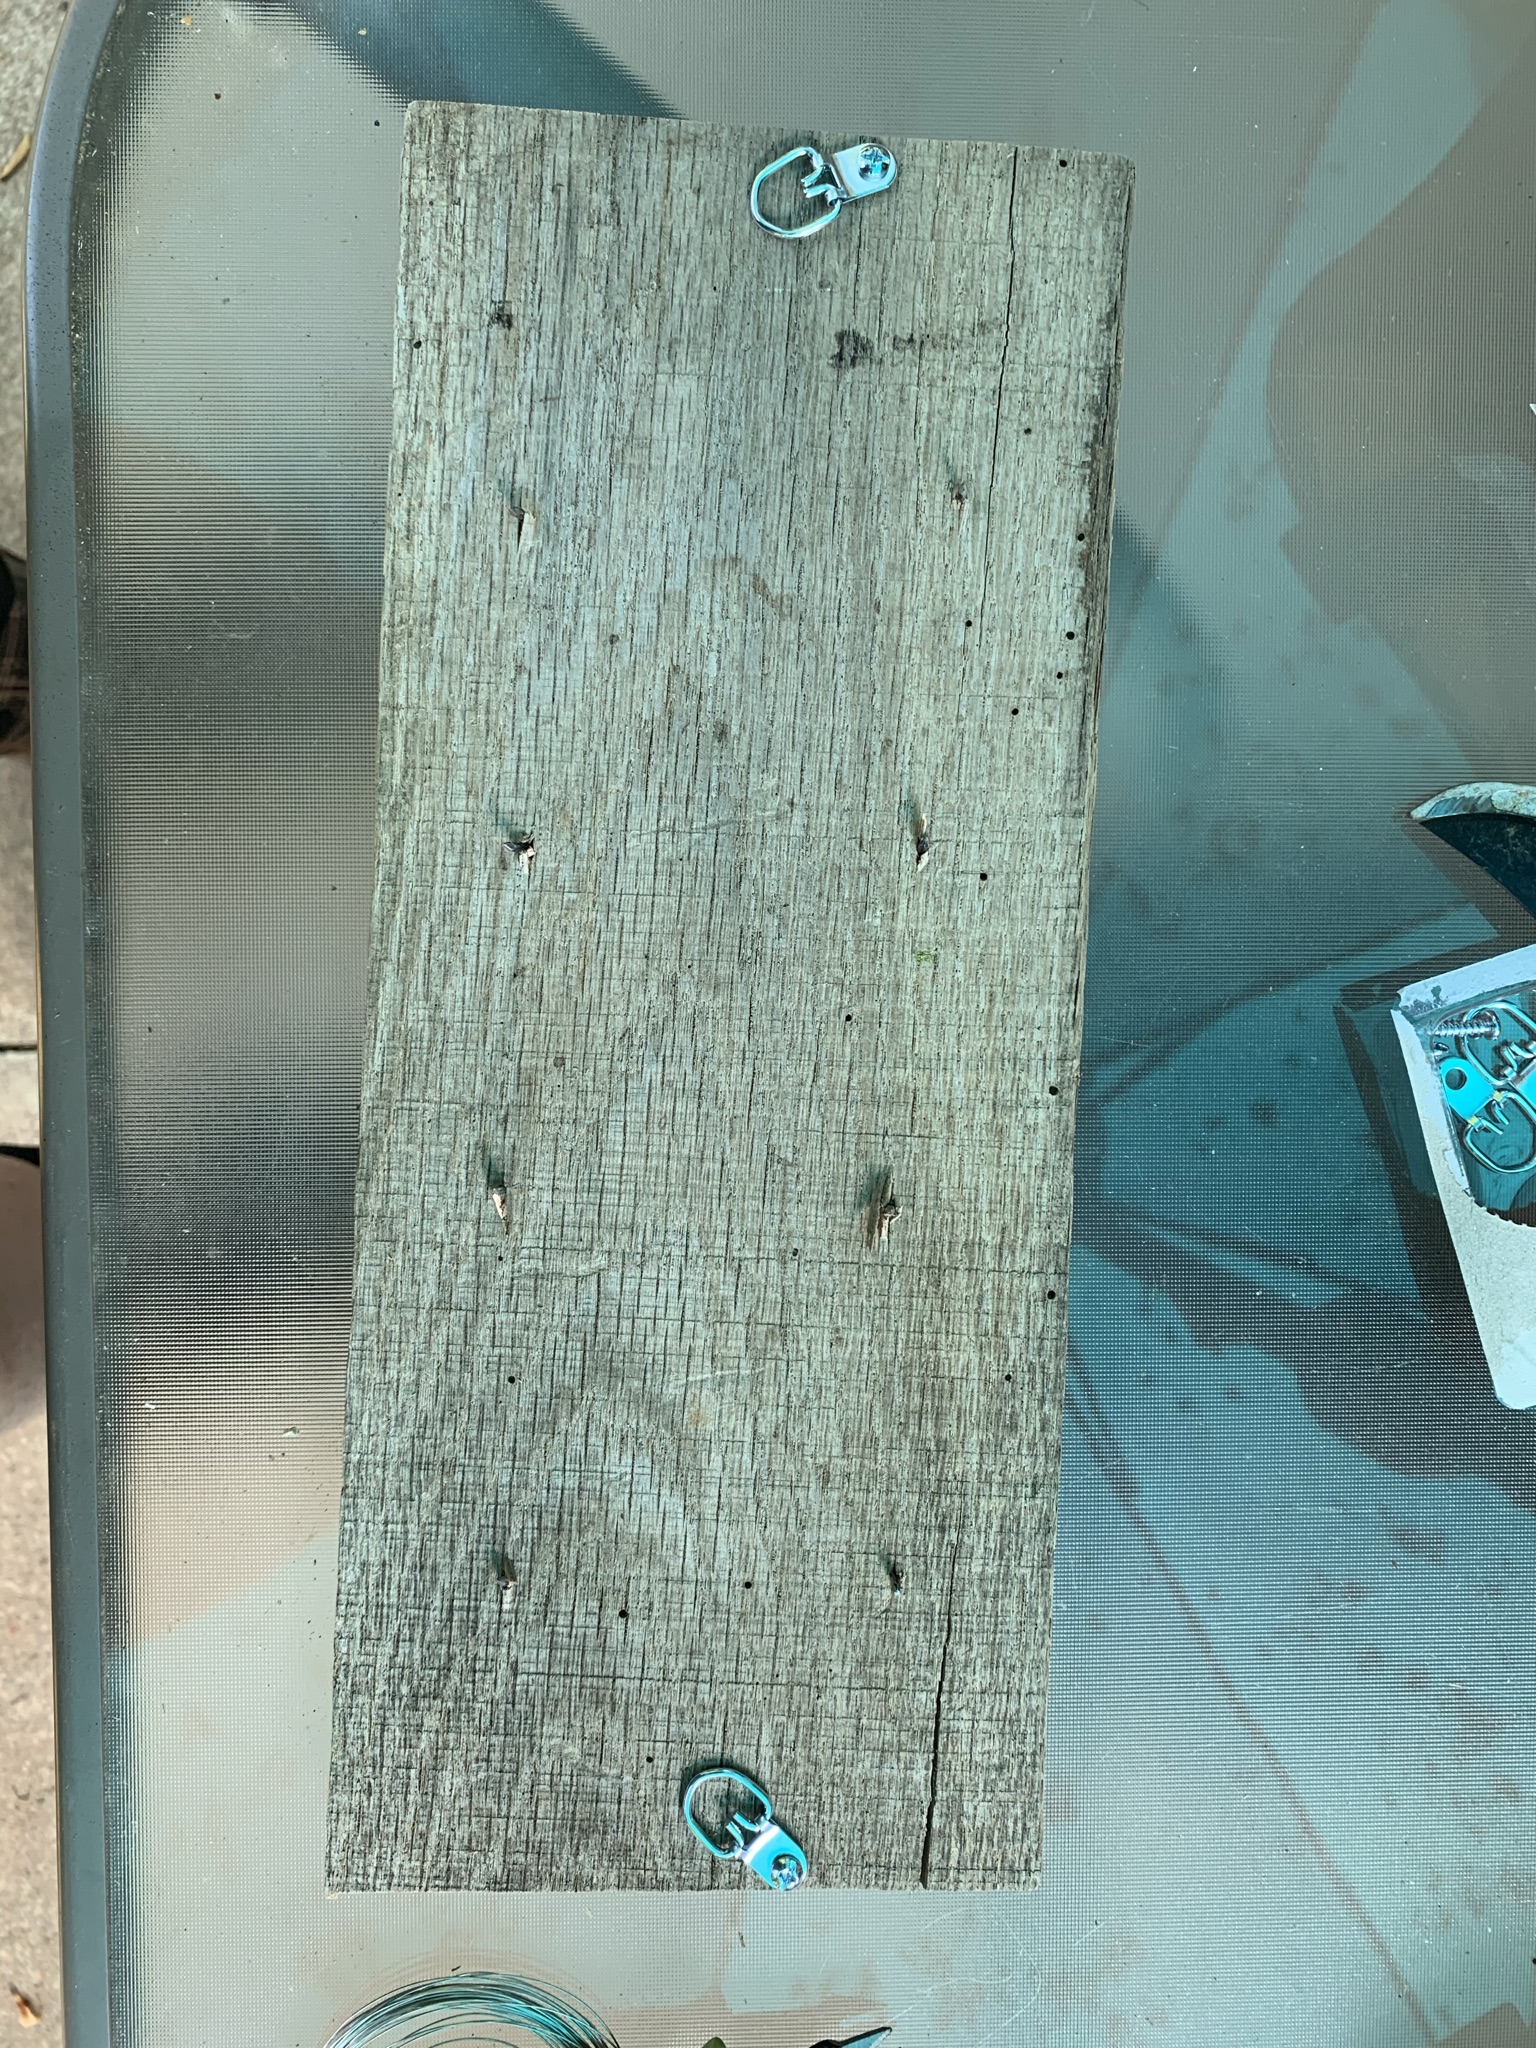
I found that if I attached the hangers to the top of the sign it hung funny and you could see the wire above the sign.
So I recommend attaching the hangers closer to the middle of the sign as I show in the picture above.
I used jewelry wire to hang the sign since I didn’t have picture hanging wire, so use anything you have hanging around the house (pun intended).
Hanging Your New House Number Sign
The previous owner of my house had a basket hanging by the front door, so I was able to reuse the screw from that for my sign.
But if you need to put up your own screw, don’t be intimated.

It will only set you back a dollar and you’ll be surprised at how much you can use it.
Then you’ll be ready to hang your DIY house number sign!
I hope this tutorial was helpful. Please leave a comment below if you have any questions!
Check out these DIY pantry shelves for another easy project.
Check out these other cheap and easy DIY tutorials: